Jean-Remi
Thursday, February 13, 2025
Notion recently released a feature that could revolutionize how you use Notion: Notion Forms.
These forms allow you to create custom forms to collect data directly within Notion. The possibilities are endless, especially if you want to use Notion for managing clients or customers.
You can create forms for collecting reviews, customer requests, onboarding clients, and much more.
In this article, I will show you how to create a form within your Notion workspace, share it with your users, and collect data through it.
Let's explore Notion Forms!
How to Create a Simple Form in Notion?
In this section, we'll learn how to create a simple form in Notion. Let's make a form to collect reviews about your Notion template.
To start, type /form on your Notion page. You should see an option to create a Notion form, select it.
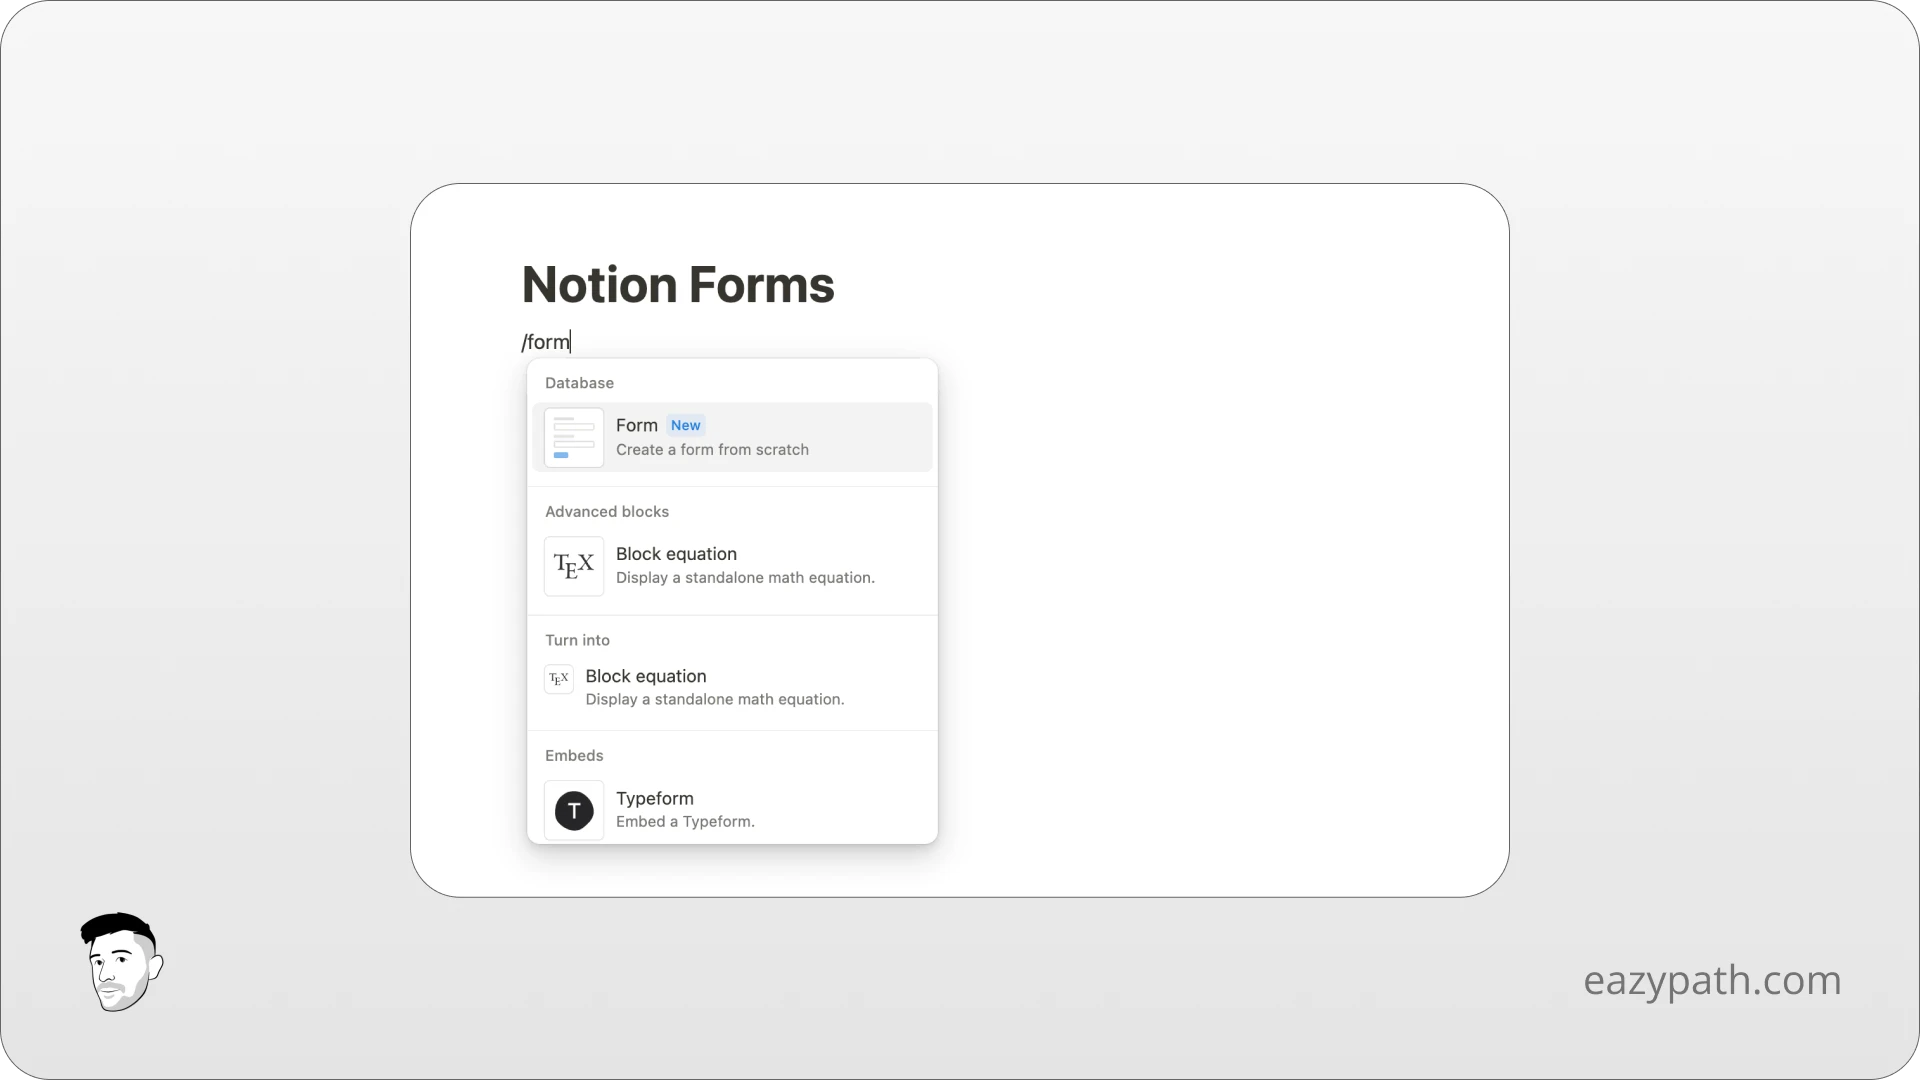
You will see a form popup on your Notion page with 2 views, one to design the form itself, and the other one to collect the responses.
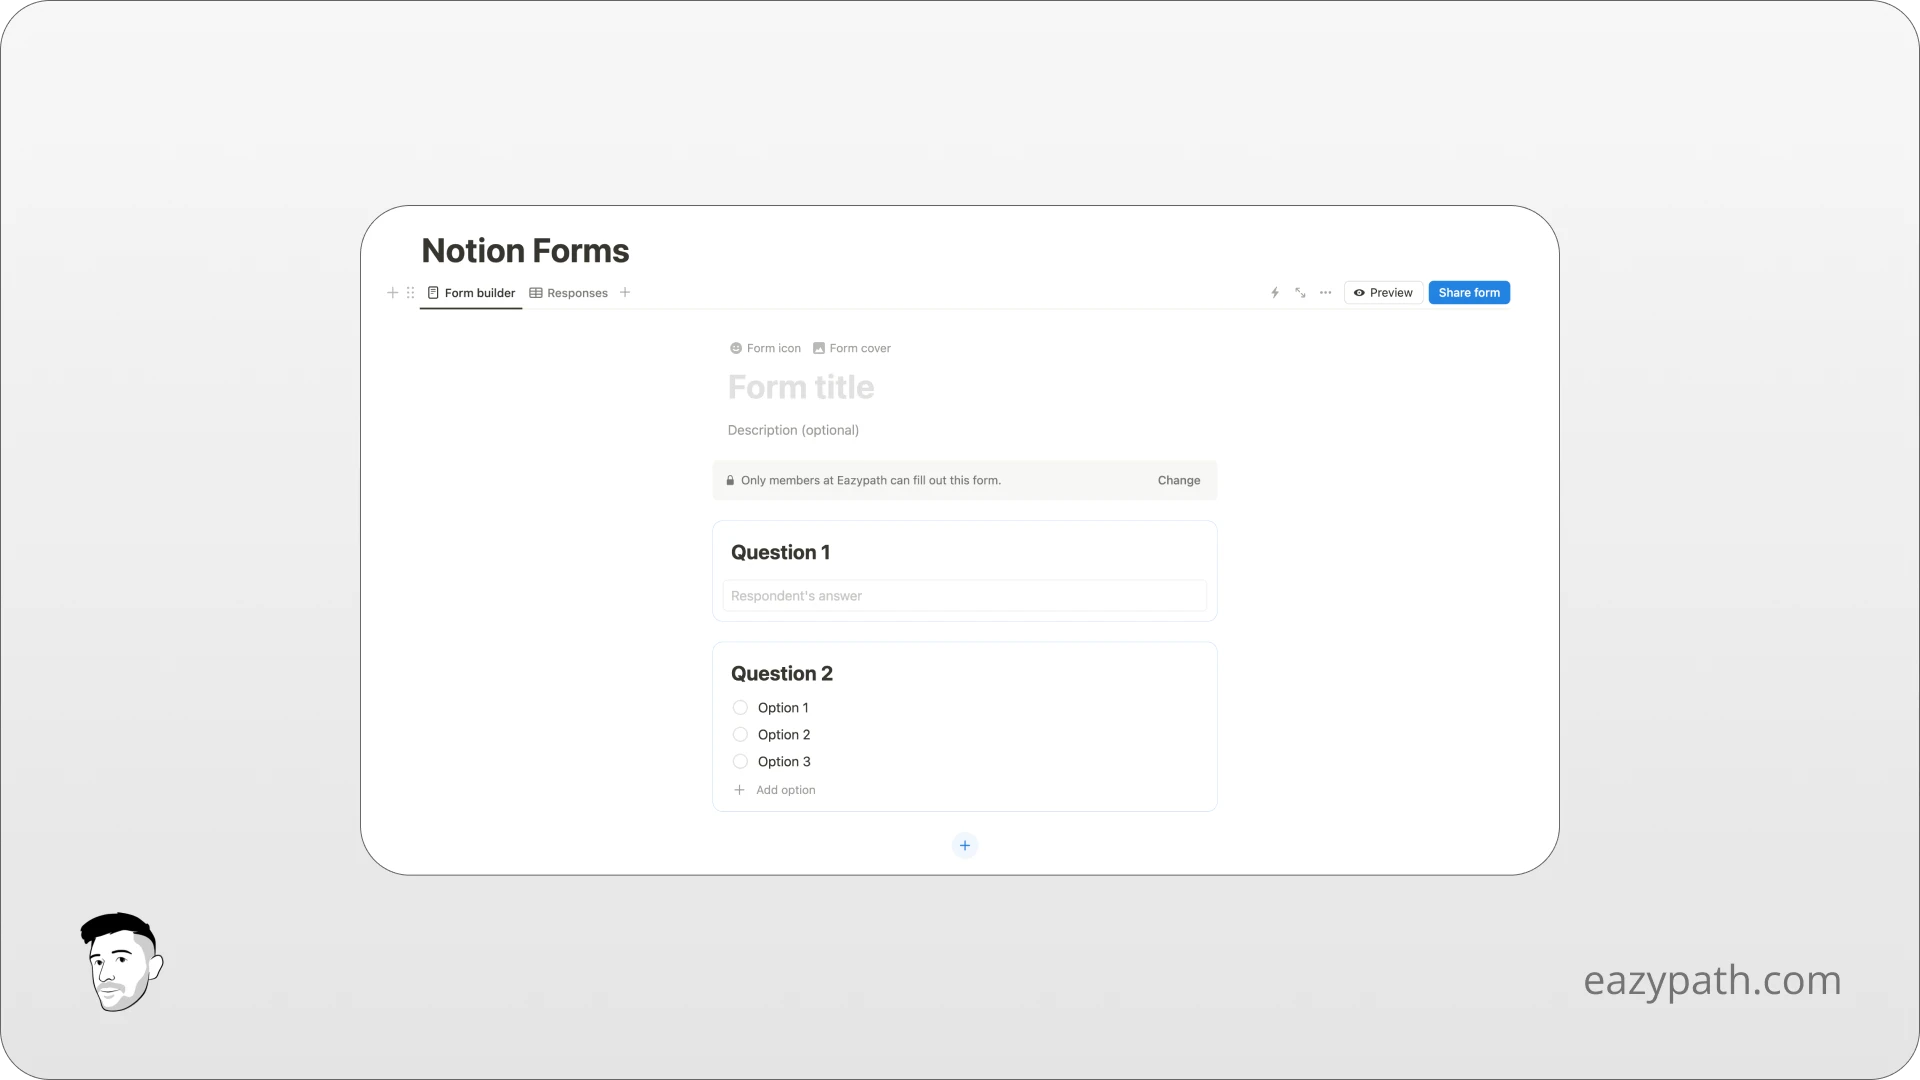
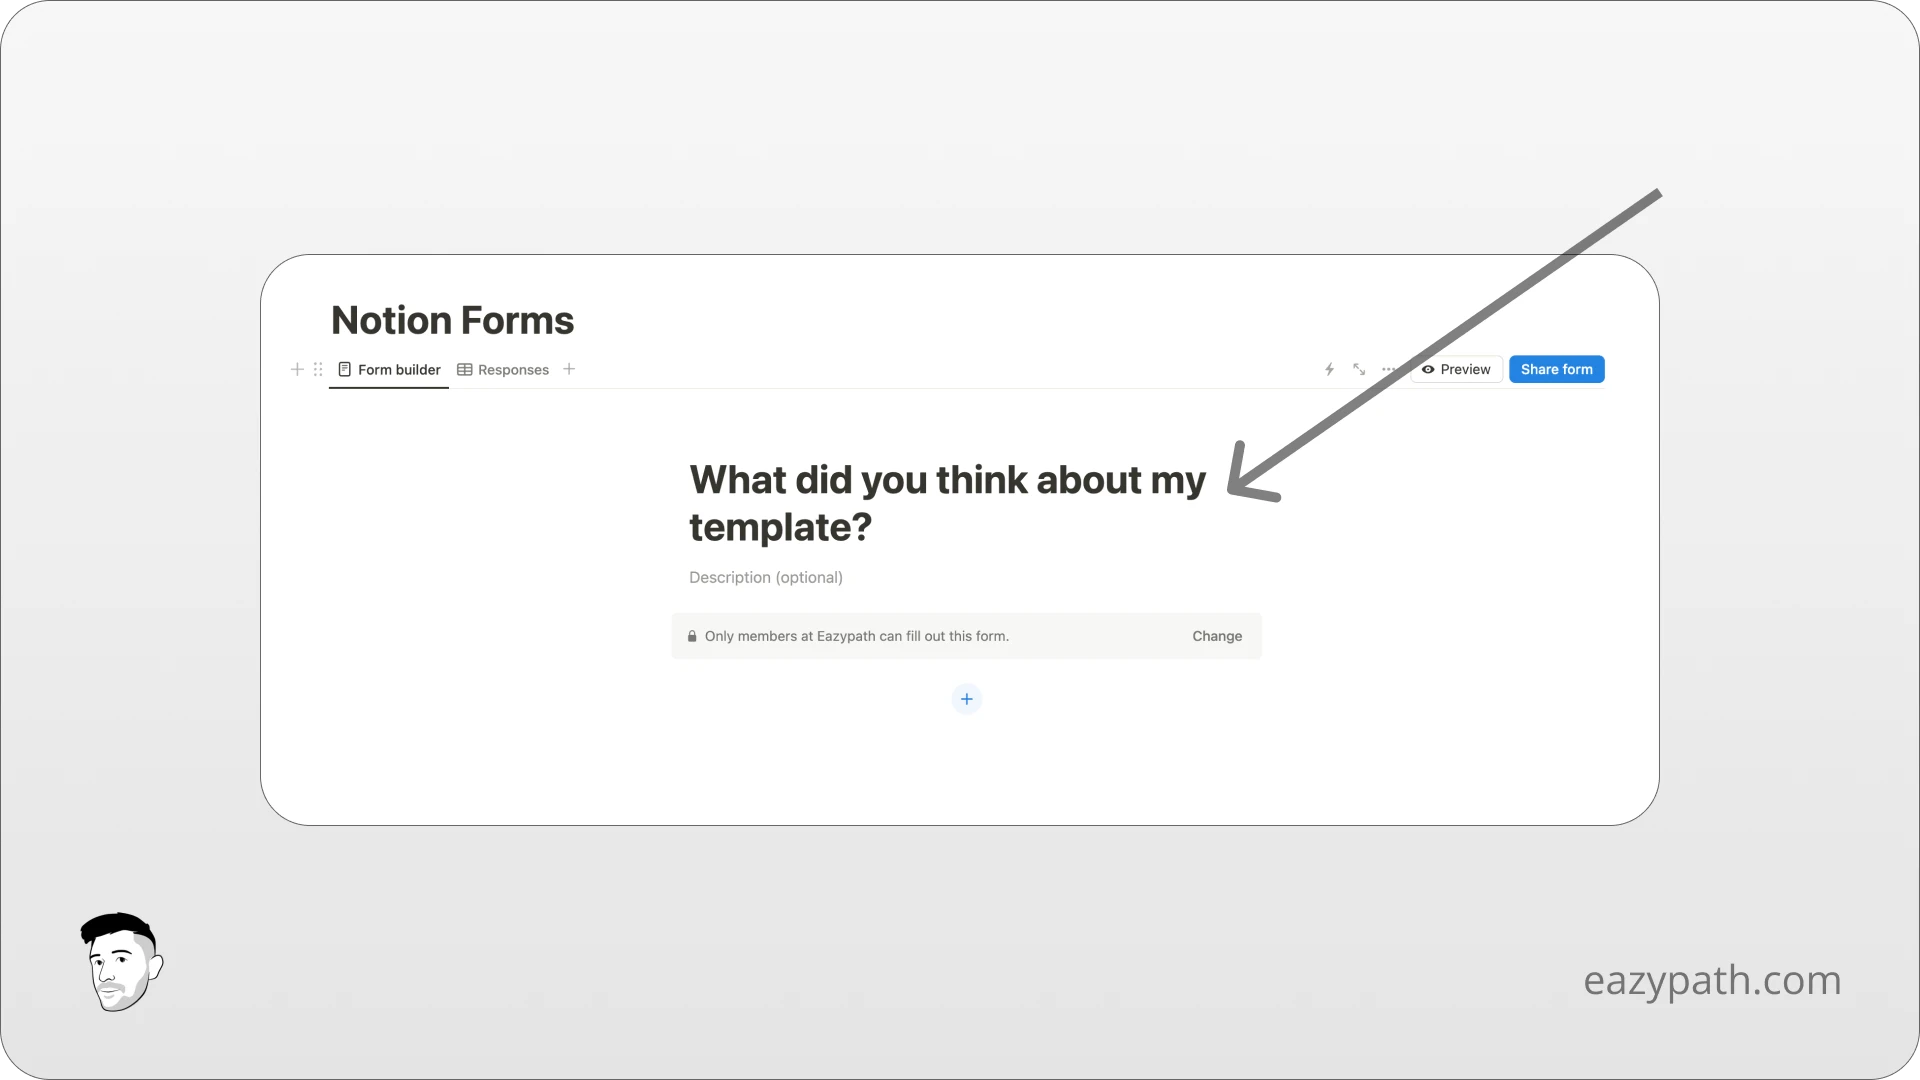
Let's create the form. We will start by removing the default example fields. Then give a name to our form; let's name it "What did you think about my template?".
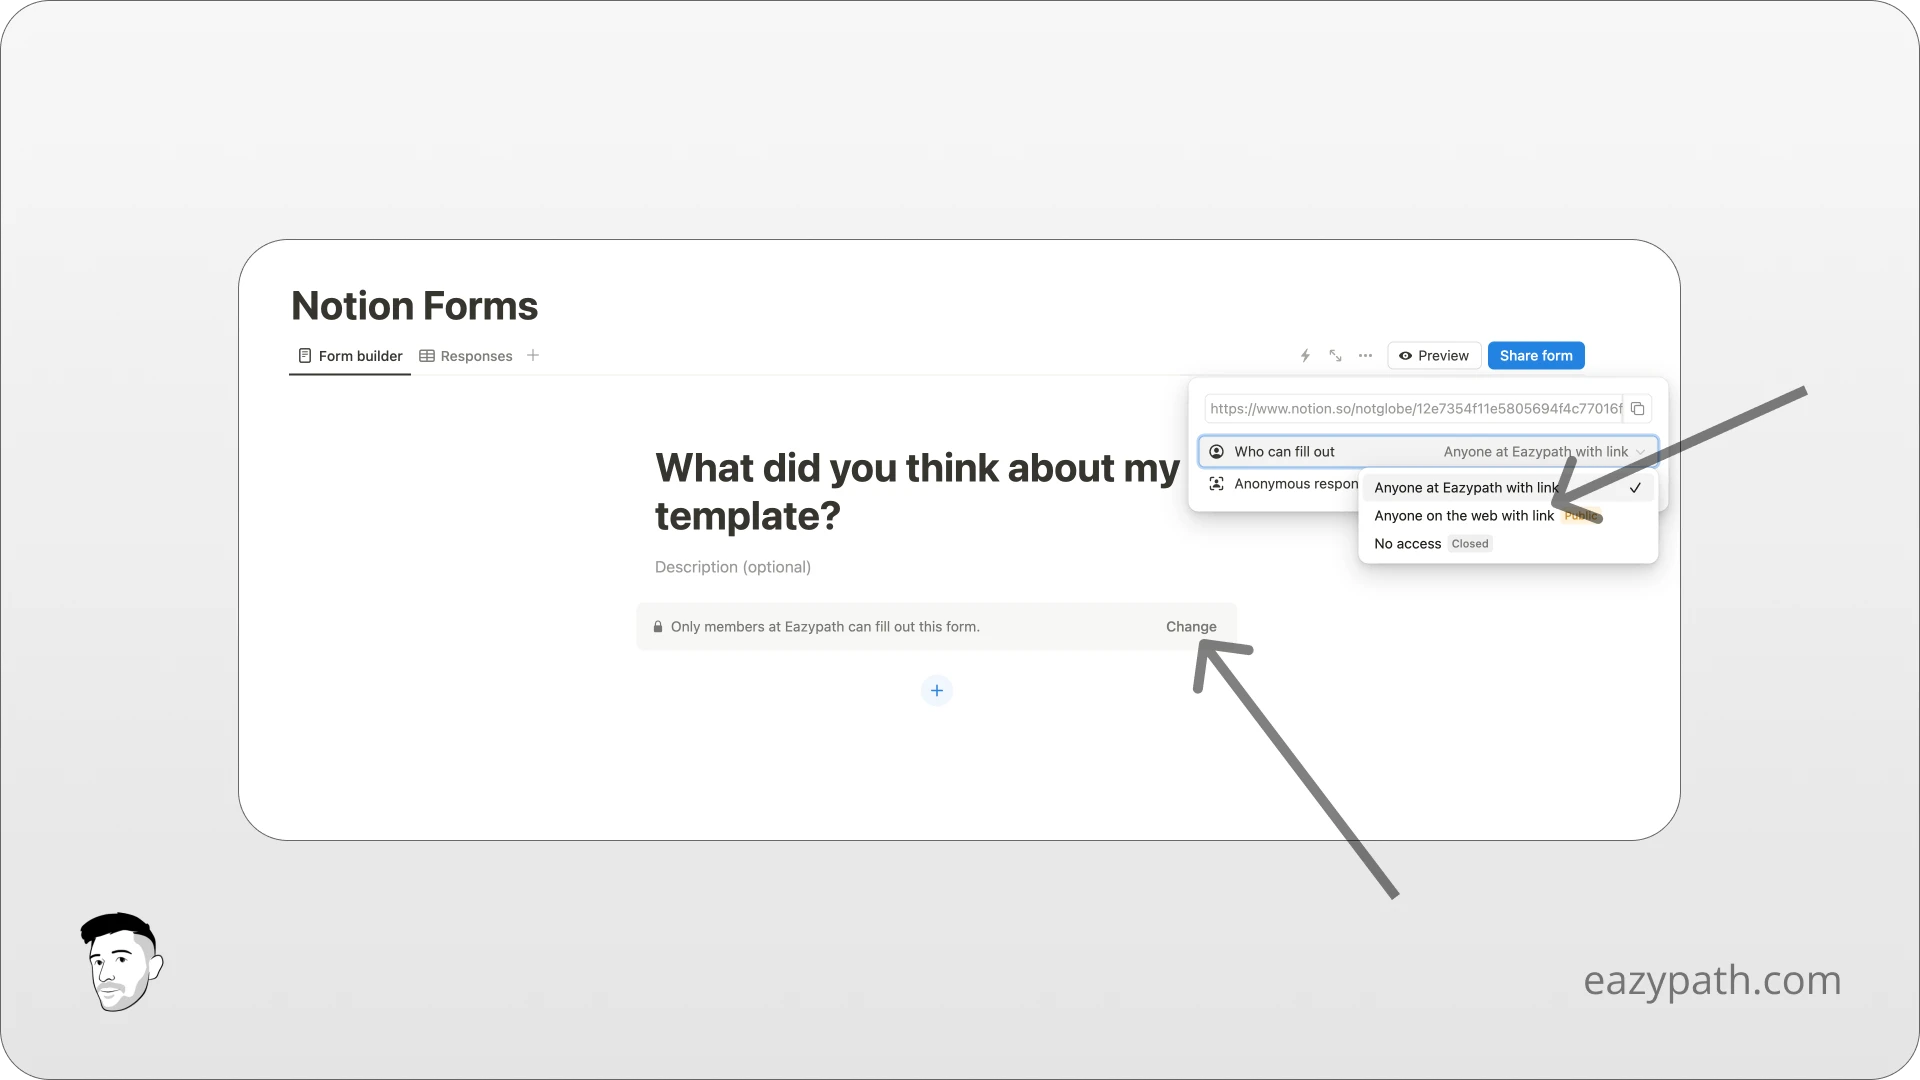
Next, we will need to change the permission of our form. Maybe you noticed that for now, only members of the workspace can fill out this form.
Let's make it accessible to the public by clicking the "Change" button. Then click on "Who can fill out" to choose the option "Anyone on the web with link".
Now we can really start building our form!
To create a form to collect reviews, we will need 3 fields:
A text field for the name of the customer
A choice field for the rating from 1 to 5 stars
A long text field for the review itself
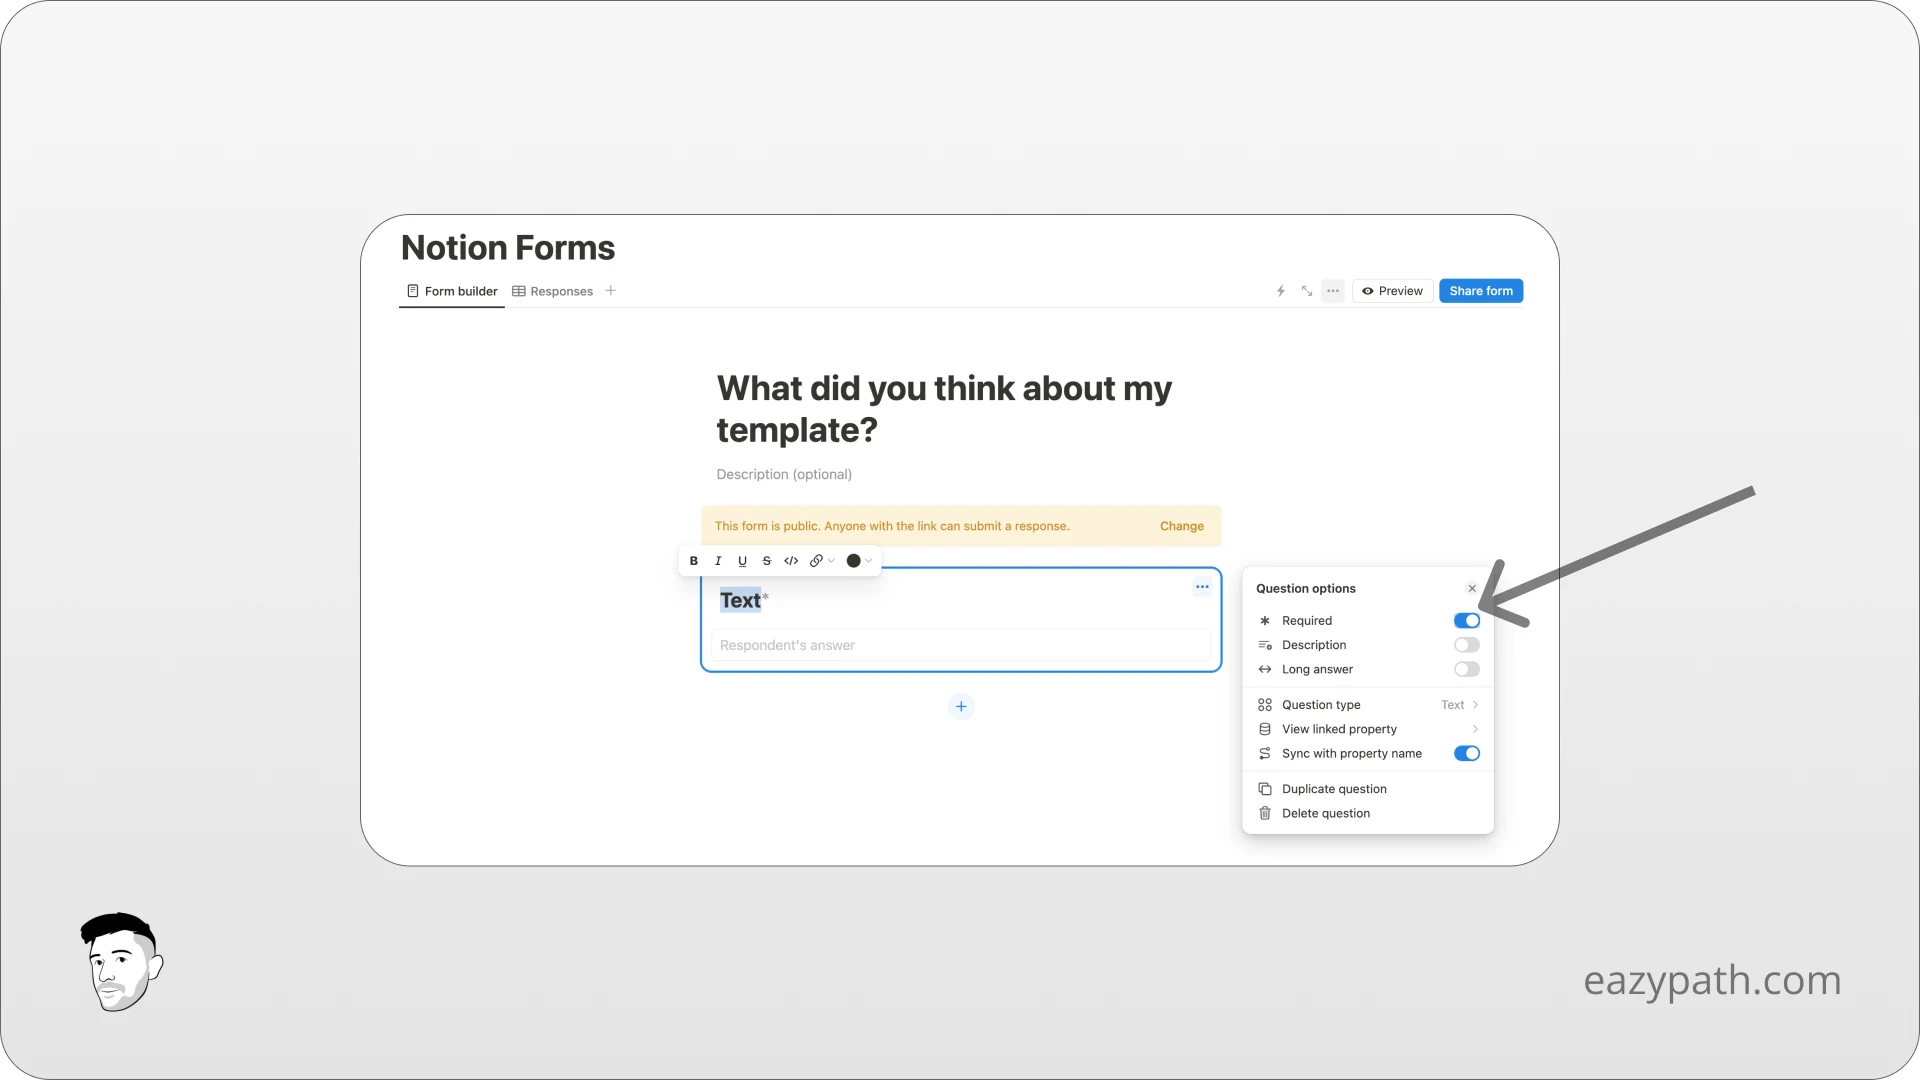
The first field will simply be the name of the customer. Click on the blue + button to add a new field and choose text field.
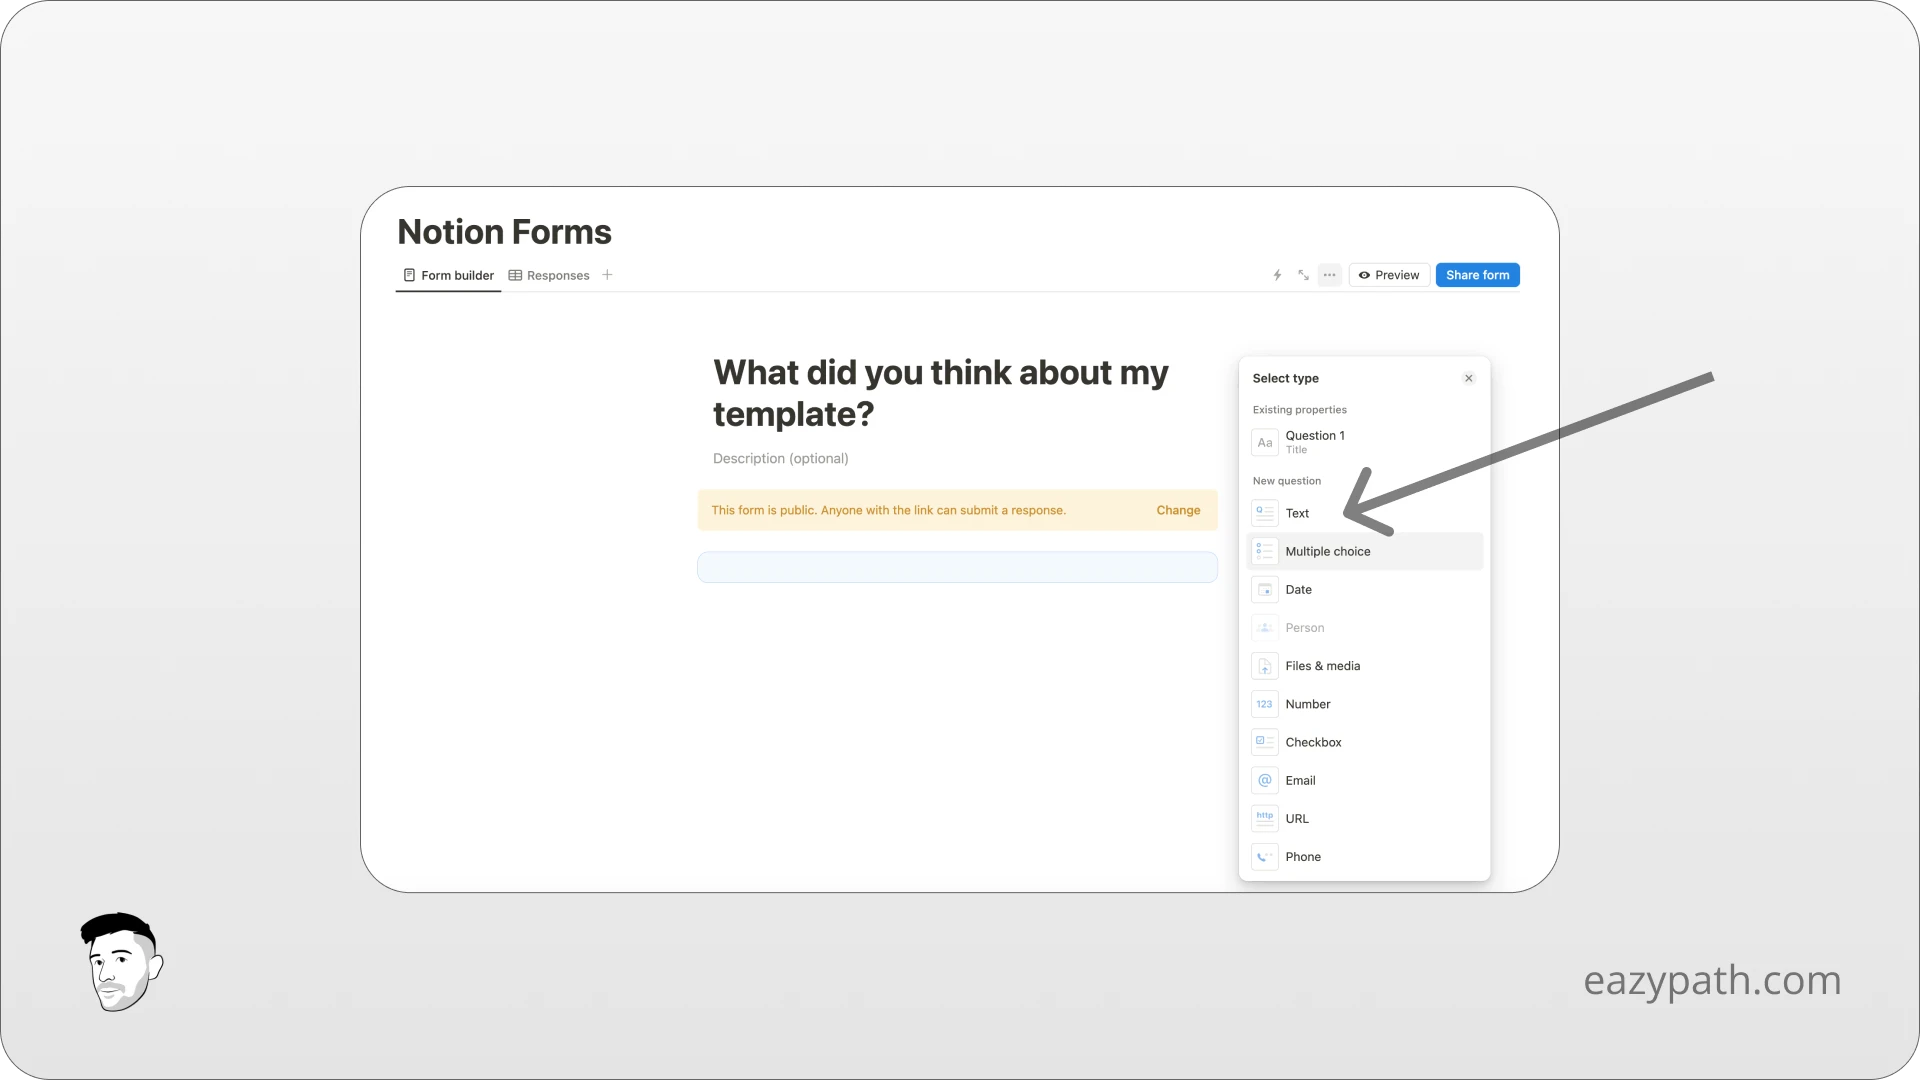
We will set the option to "Required" to force the customer to fill this field.
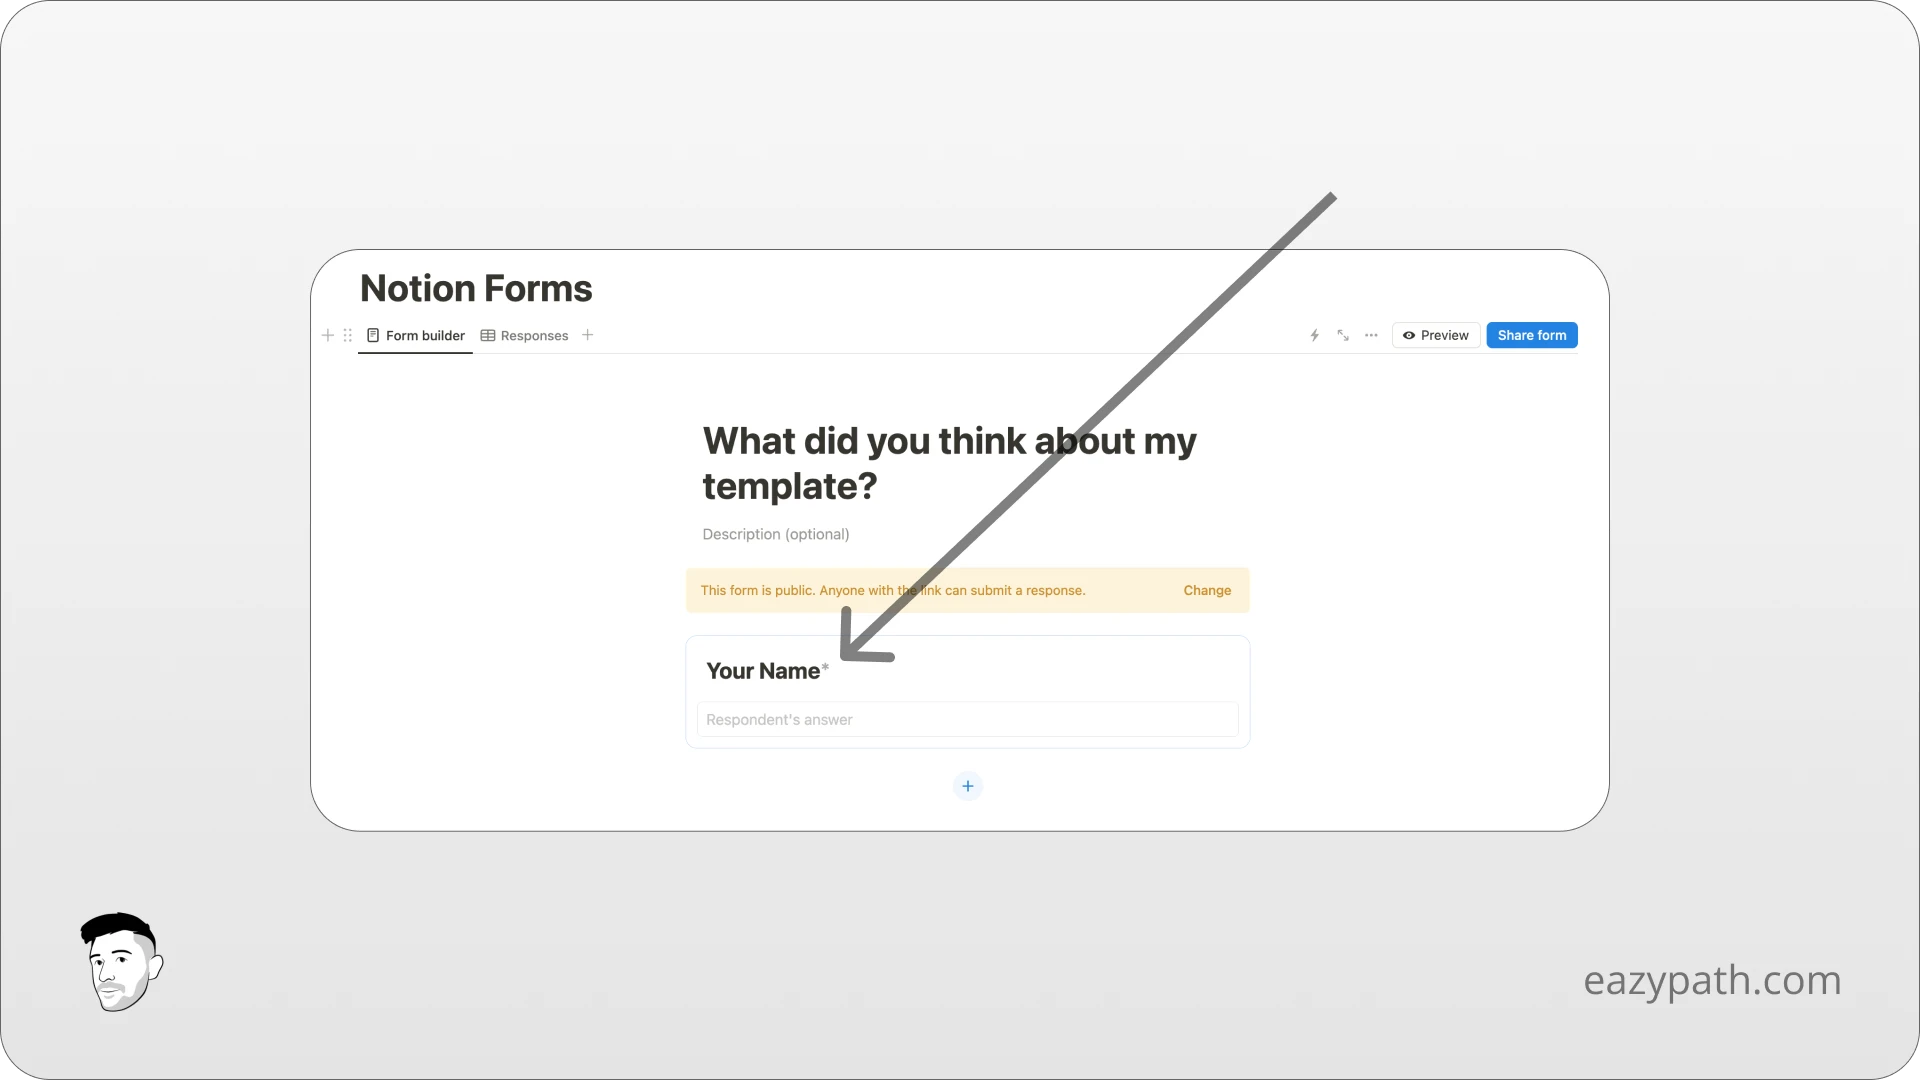
And finally, let's name this field "Your Name" to indicate to the customer that he needs to enter his name in this field.
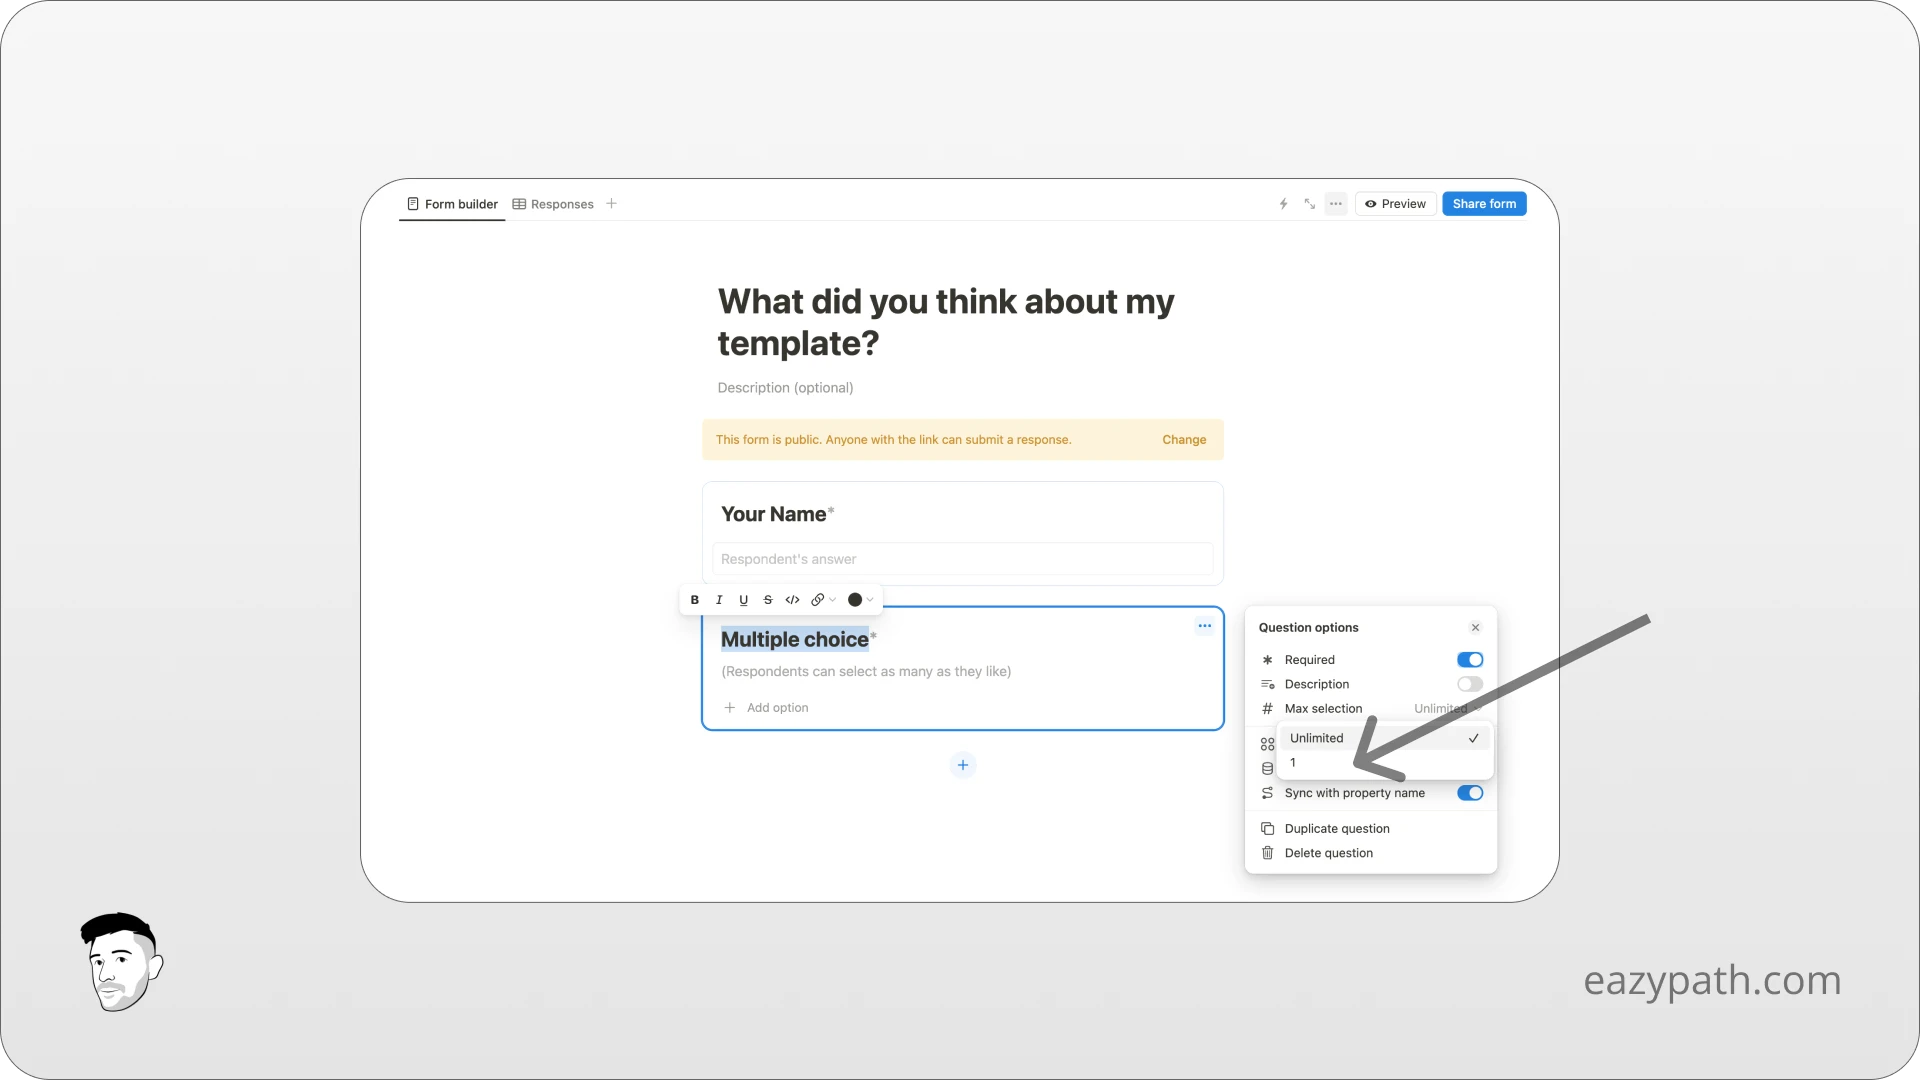
For the second field, we will click once again on the blue + button, but this time choose a "Multiple choice" field. We will also set it to required and choose the "Max selection" to 1 to allow the customer to only be able to choose 1 option.
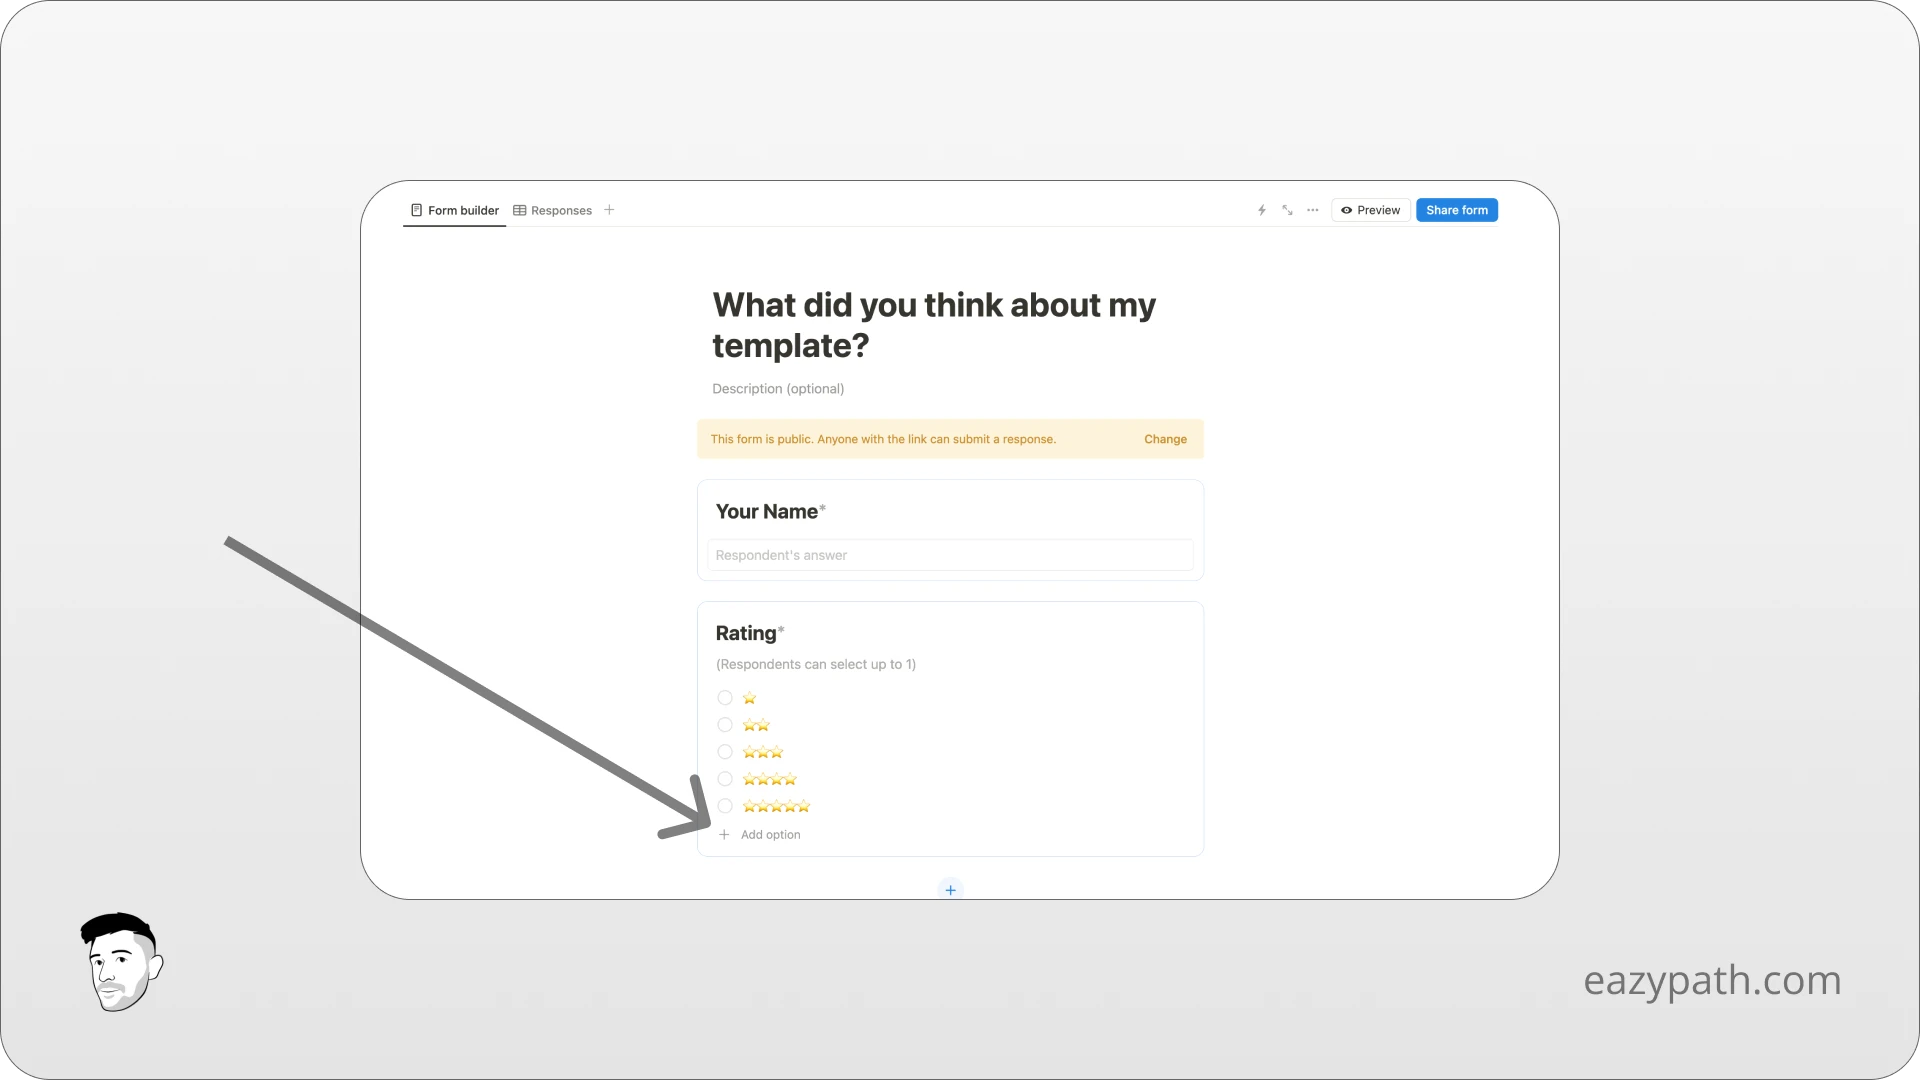
Let's rename this field and add the options to it. To add the options, click on the "Add option" button and start entering your options. We will set 5 options from 1 star to 5 stars.
For the last field, we will add a field of type text and set it to required. We will enable the long answer option to allow the customer to enter a full review for our template.
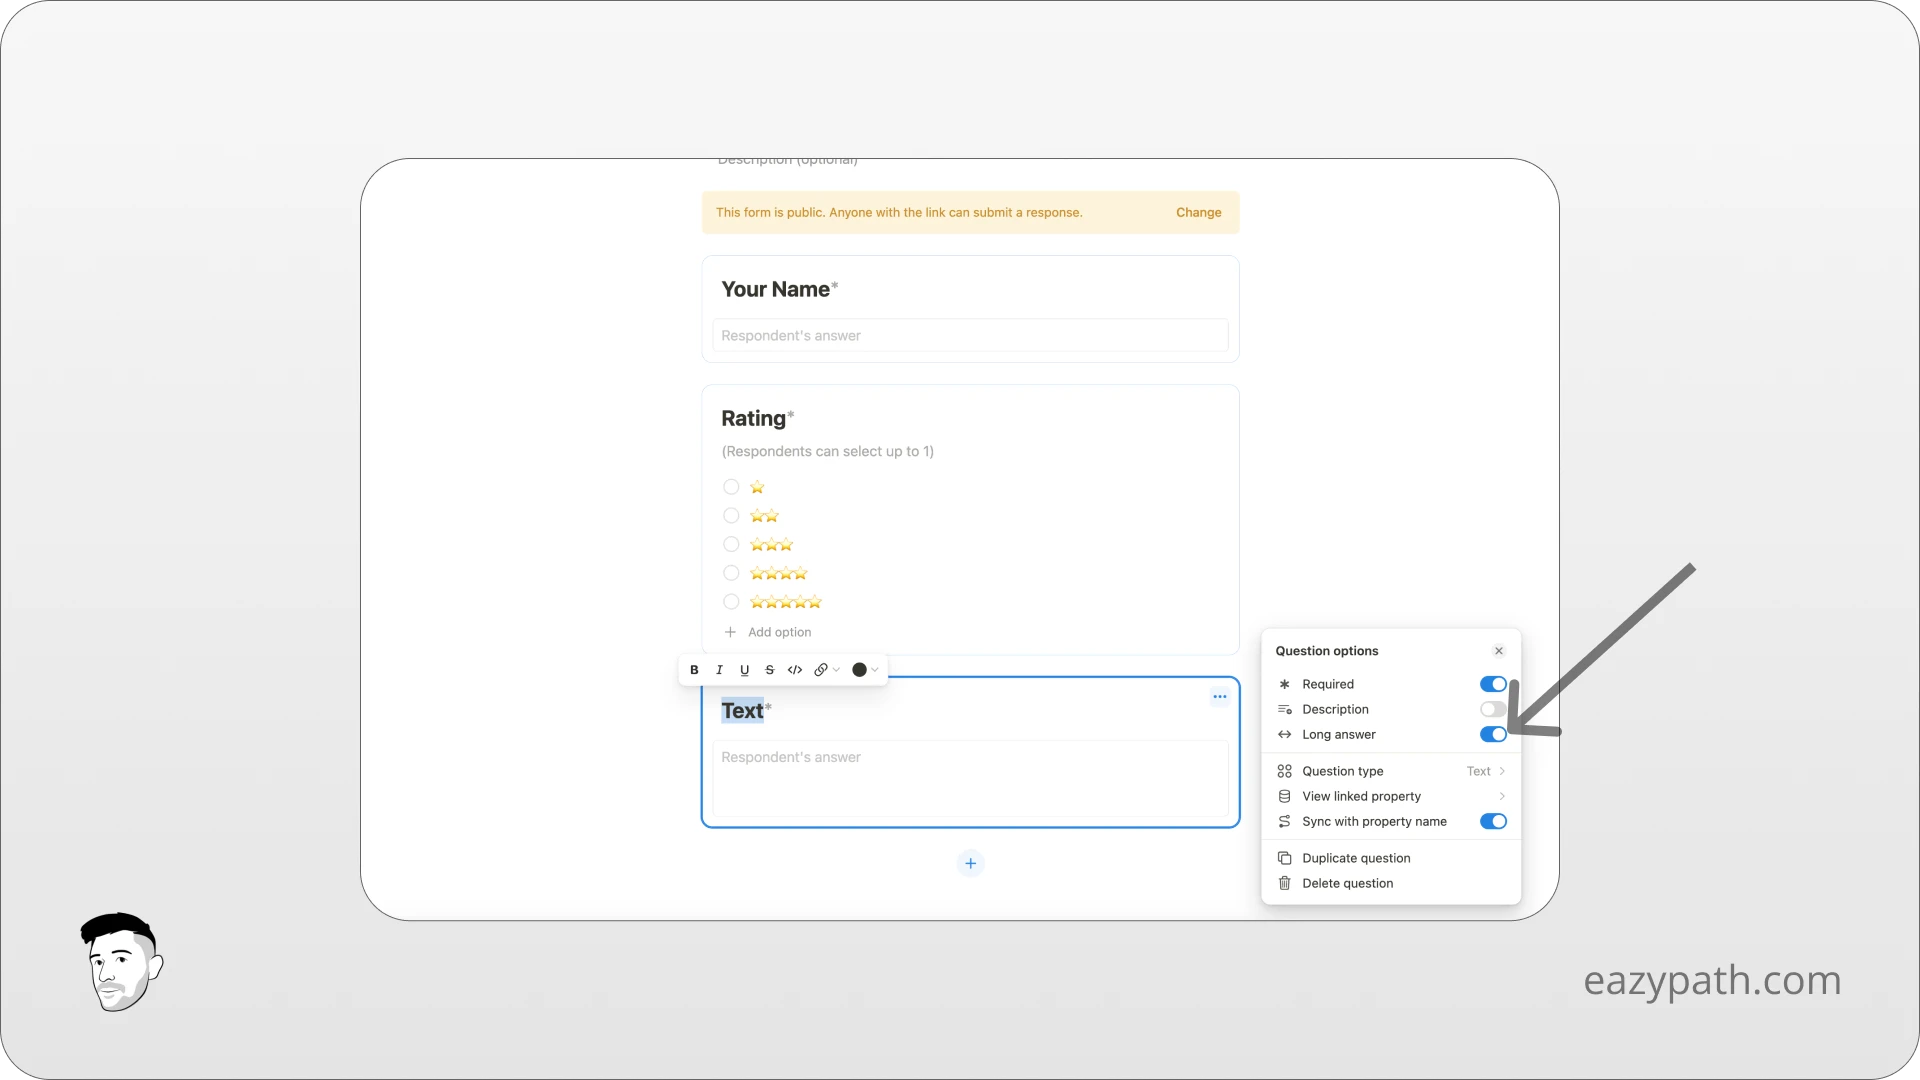
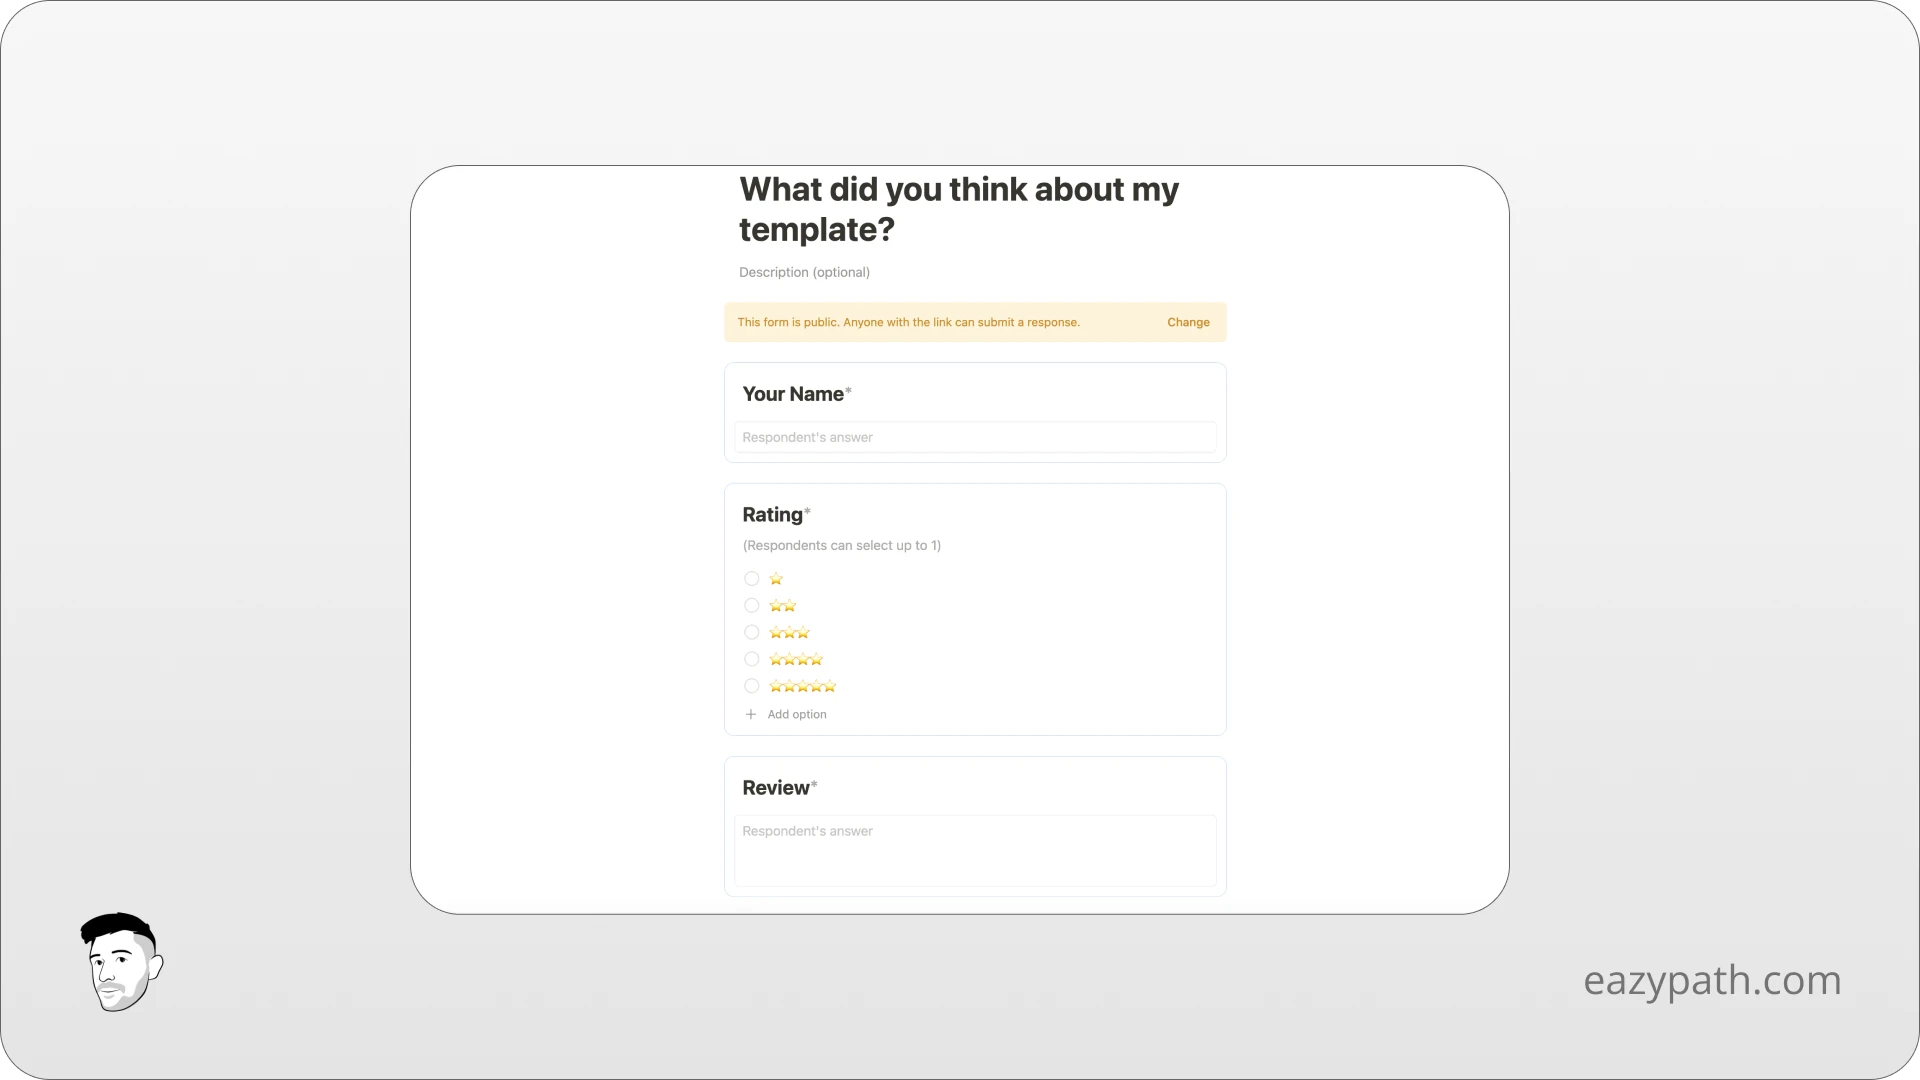
We can finally rename this field "Review" and admire our full form that we just finished creating! Congratulations!
How to Collect Data with your Notion Form?
Now we finally finished creating our form, it's time to publish it and share it with our customers!
To do so, simply click on the blue "Share form" button on the top right of your form and copy the link to your form.
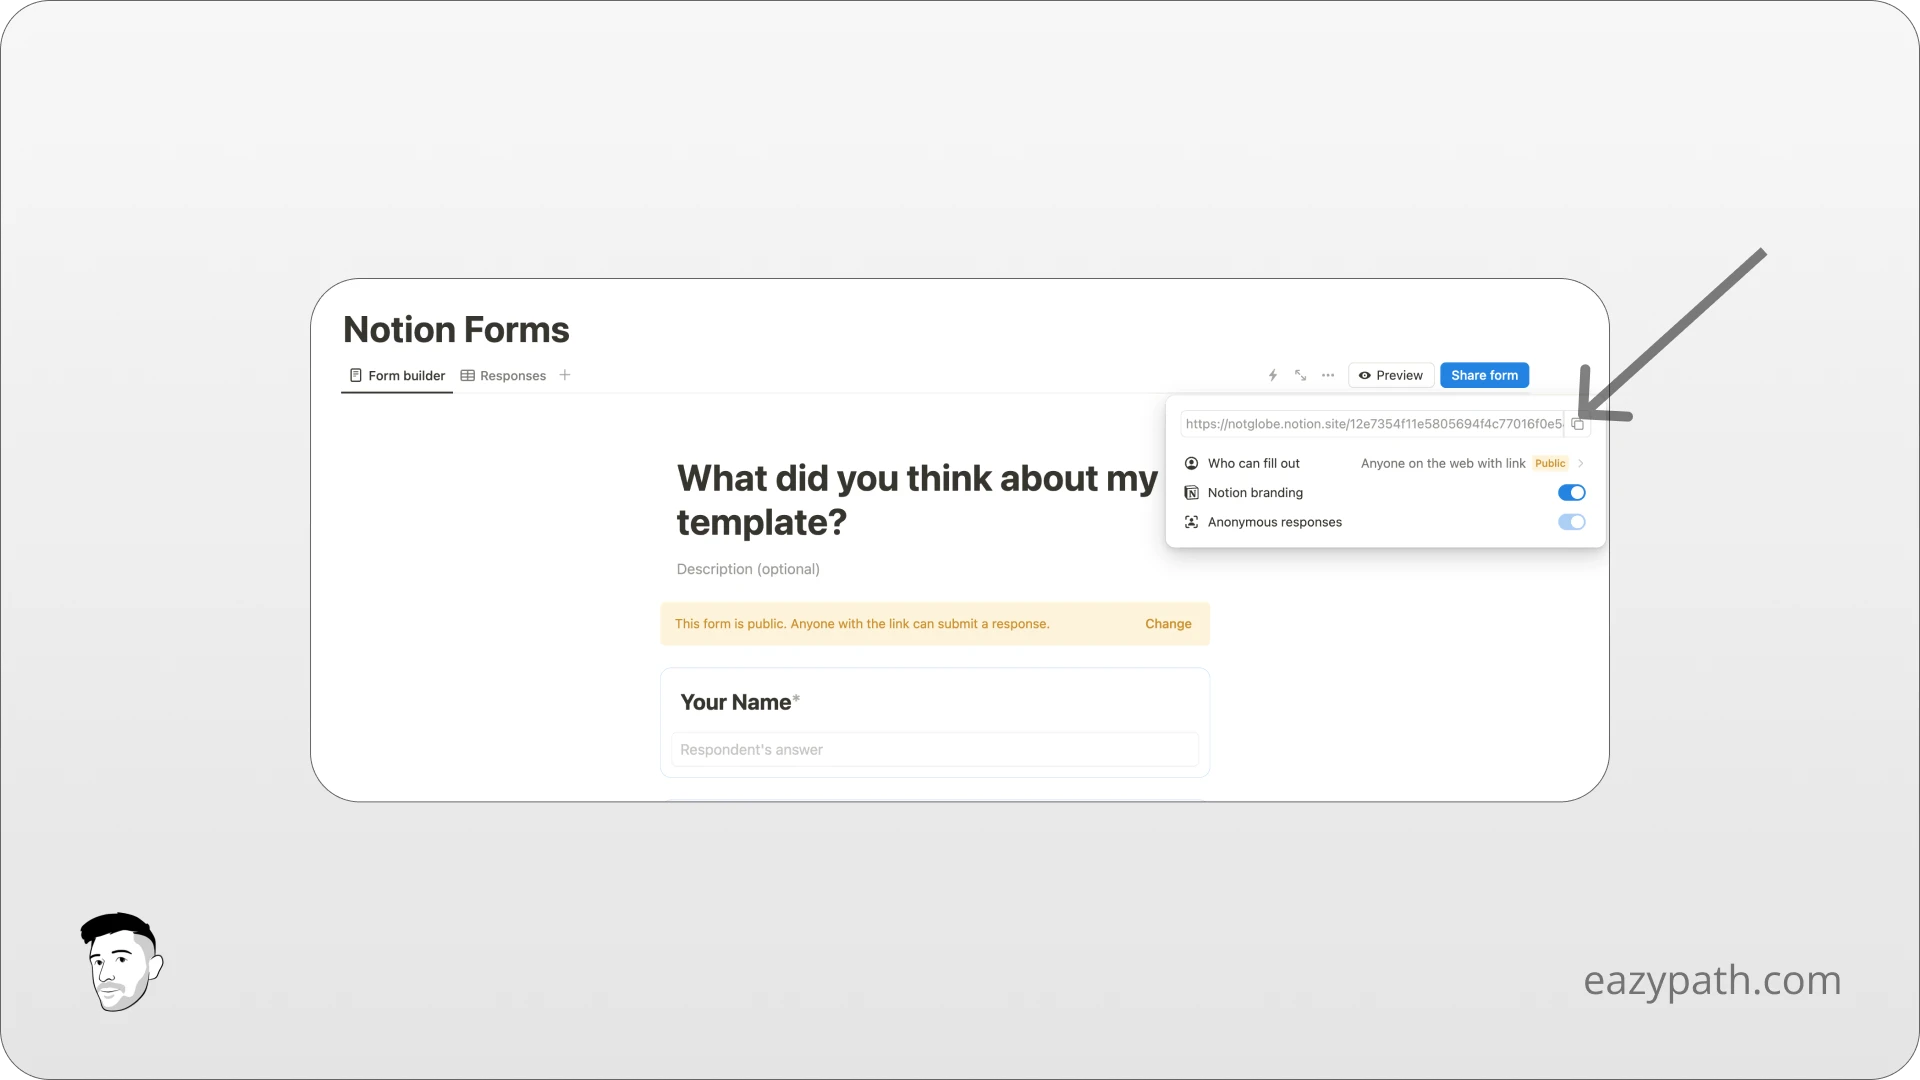
You can share your form in any way you prefer, such as by emailing it to customers after they download your template, or through any other method you choose.
If you follow the link to your form, it should look like this:
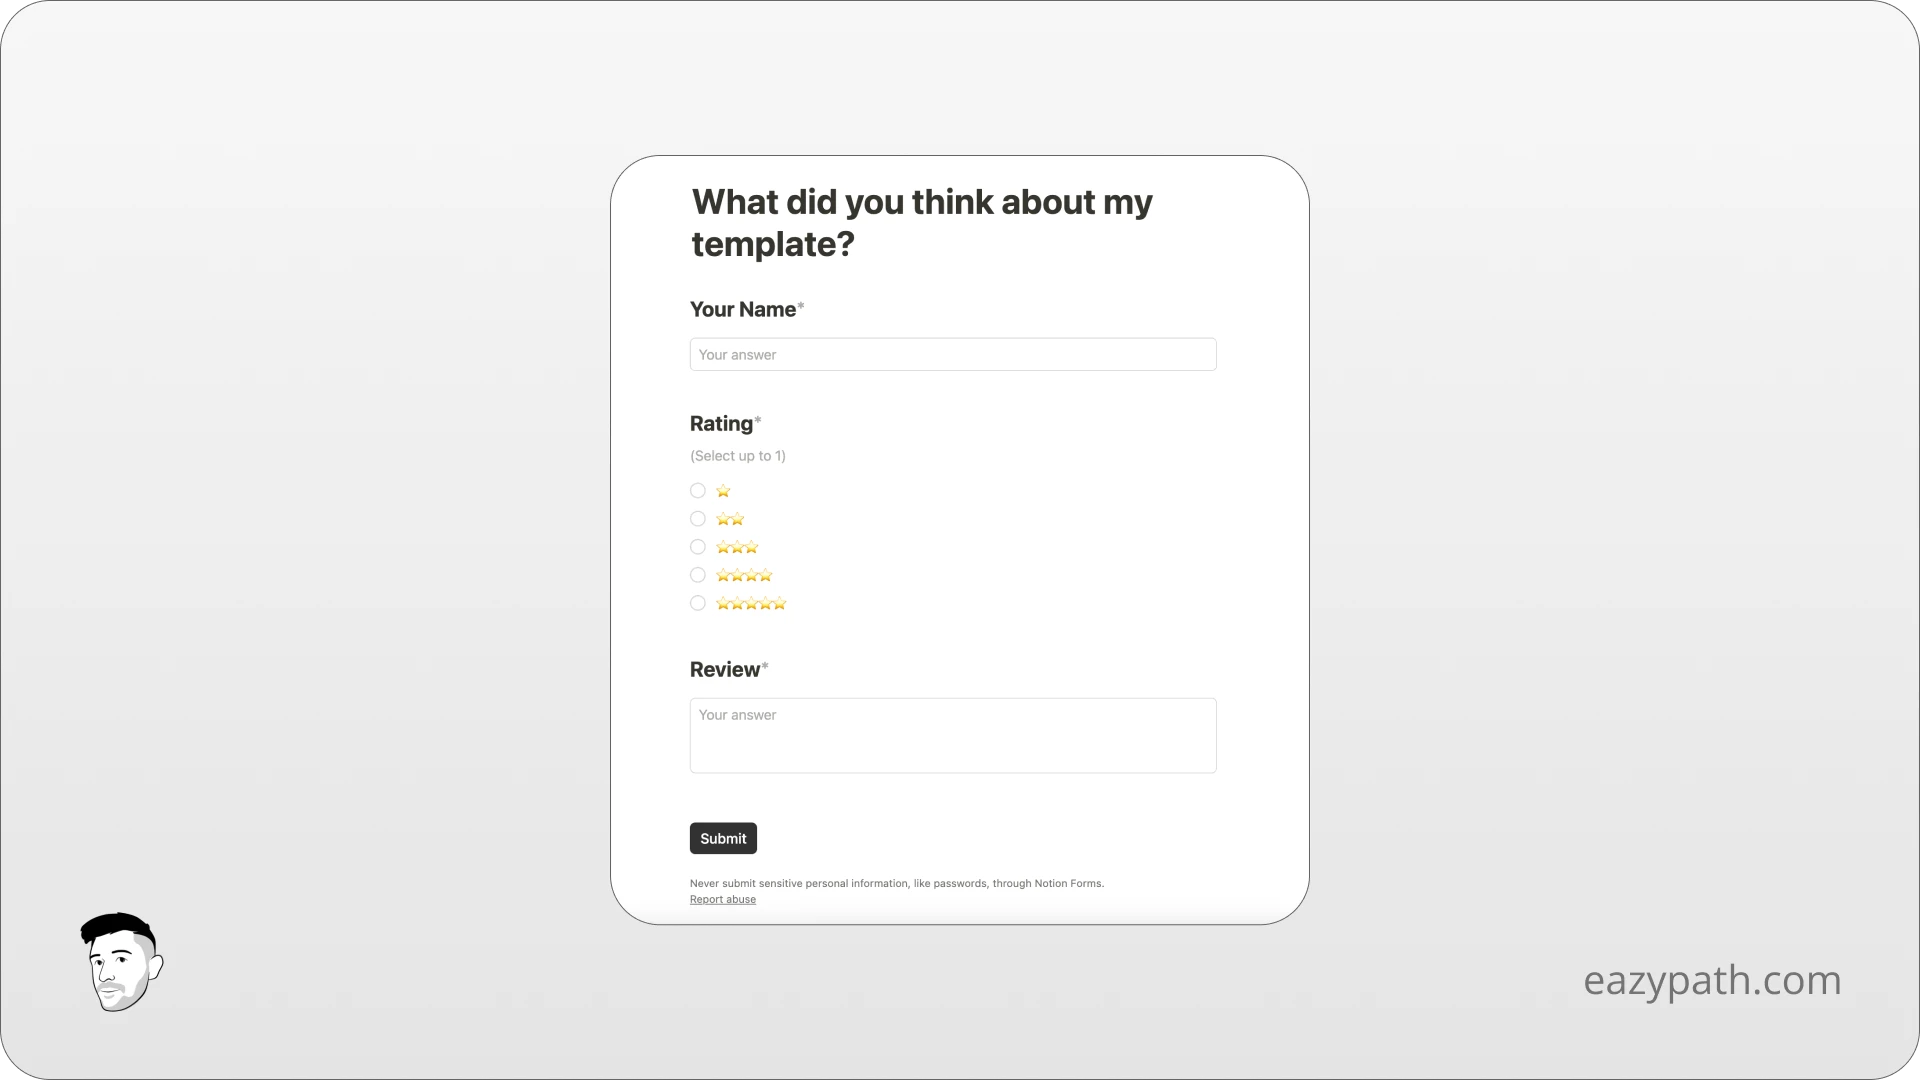
After a customer fills out your form, you will see the data appear in the Response section. Let's test it by filling out the form ourselves. You should be able to see the response!
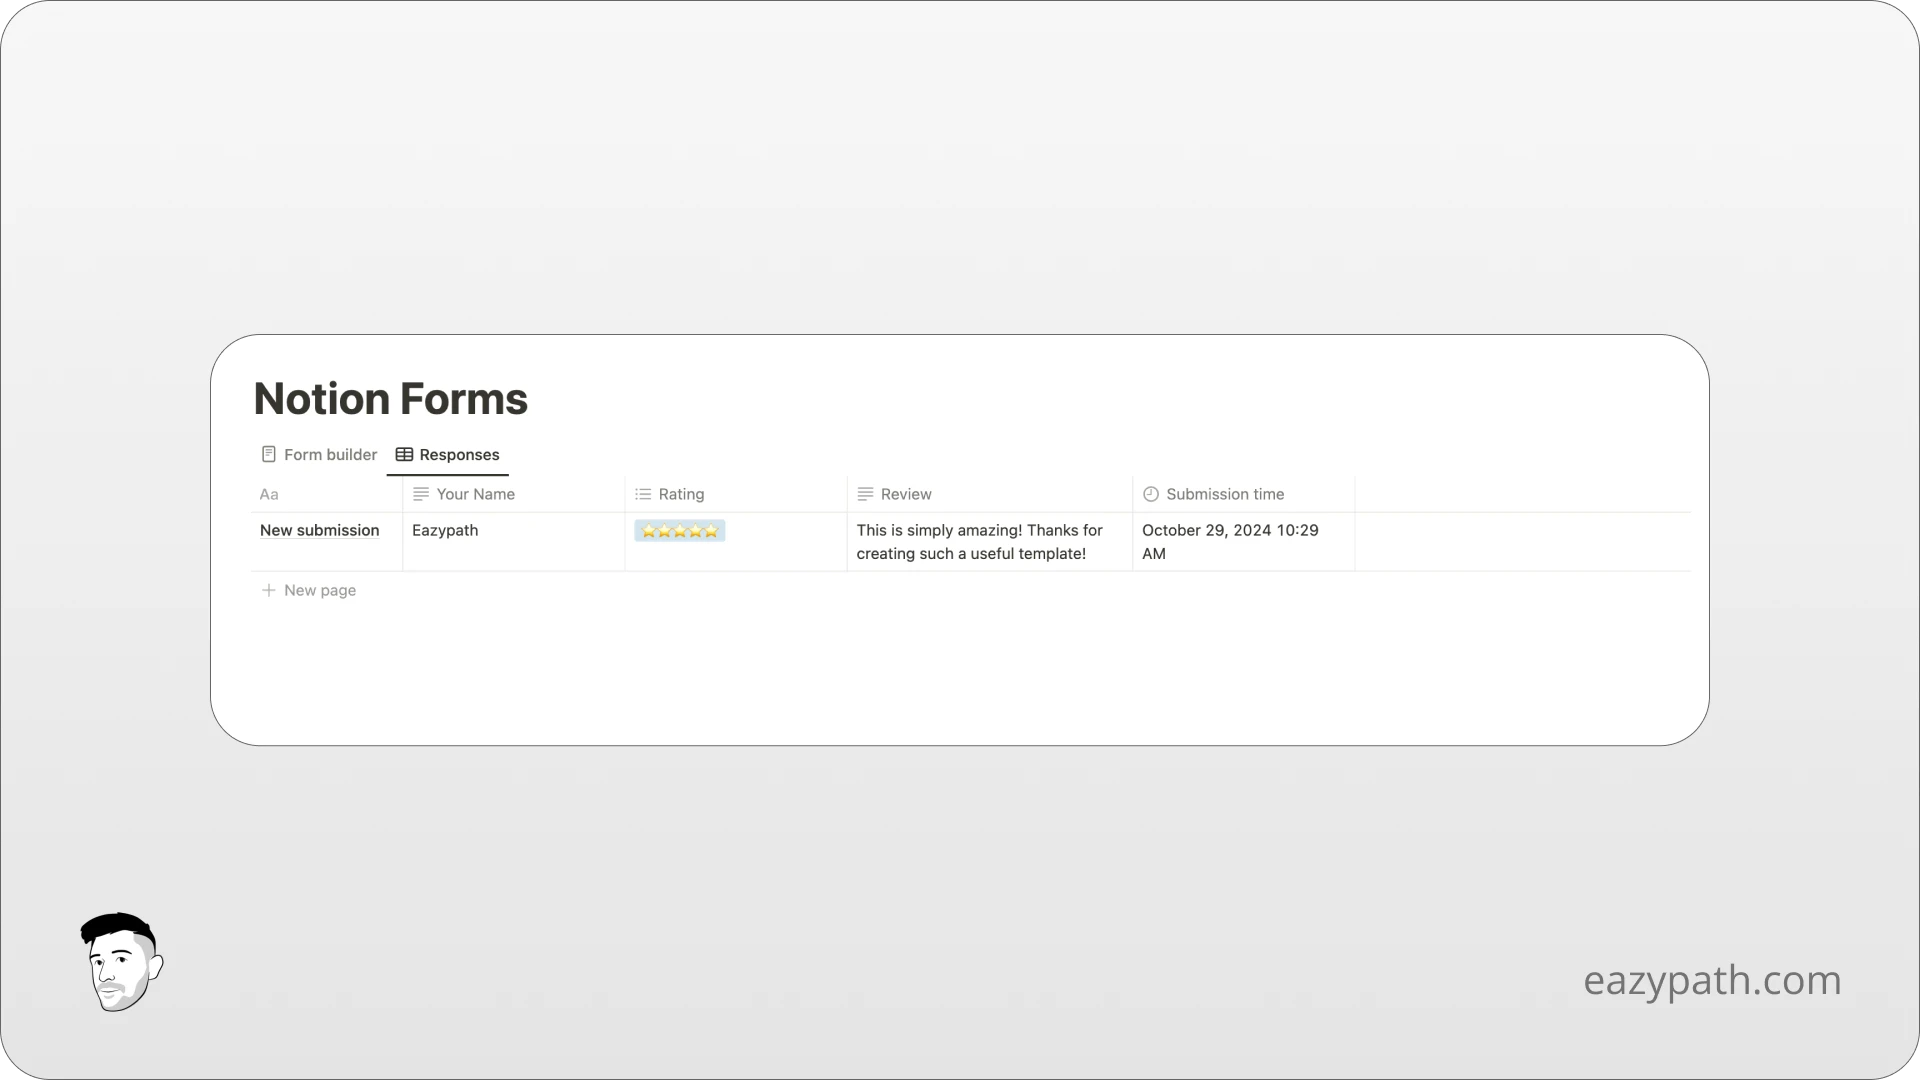
That's it! It's that simple. Now you can manage your reviews in Notion, select the best ones (5 stars), and showcase them on your website or social media.
Specific Use Cases of Notion Forms
Notion forms can be use in many uses cases. Here are few examples of what you can achieve:
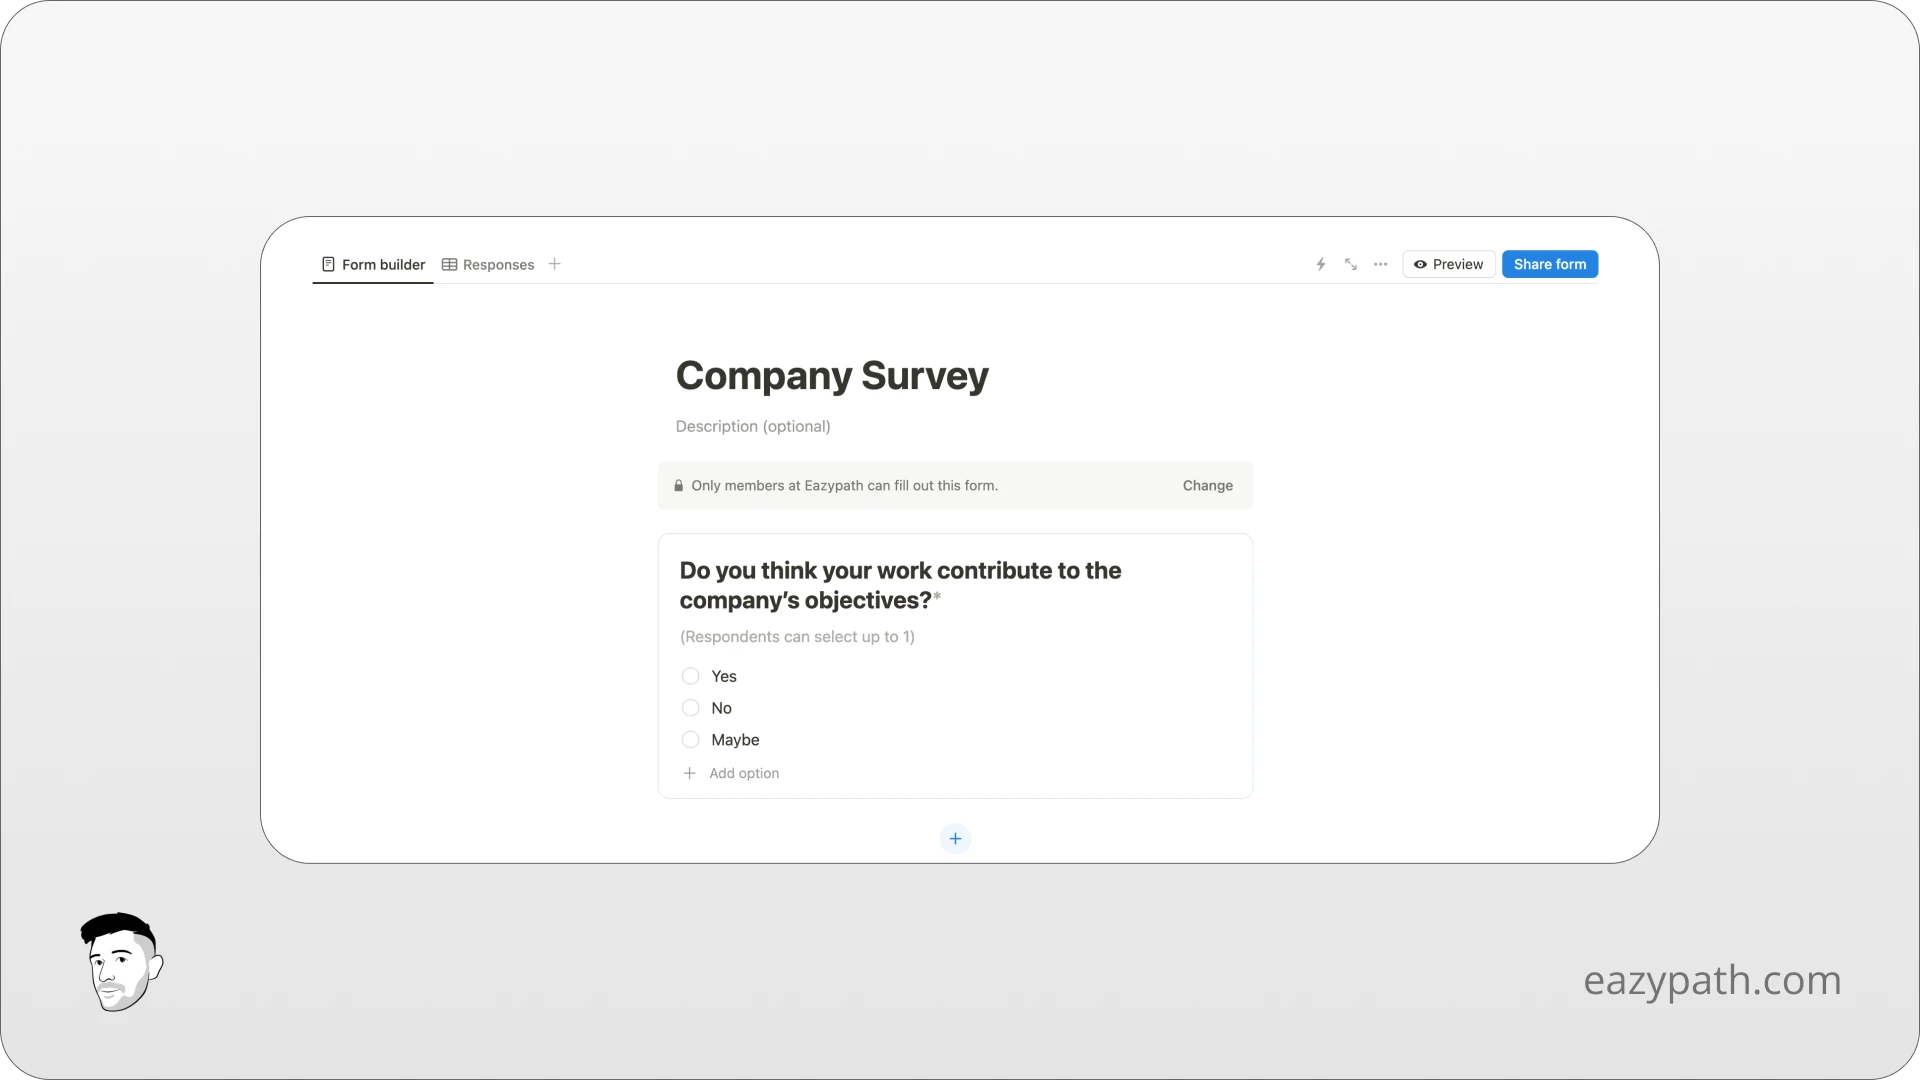
Company Survey
Notion forms can be used to create a company survey to collect feedback from employees in order to create a better work environment.
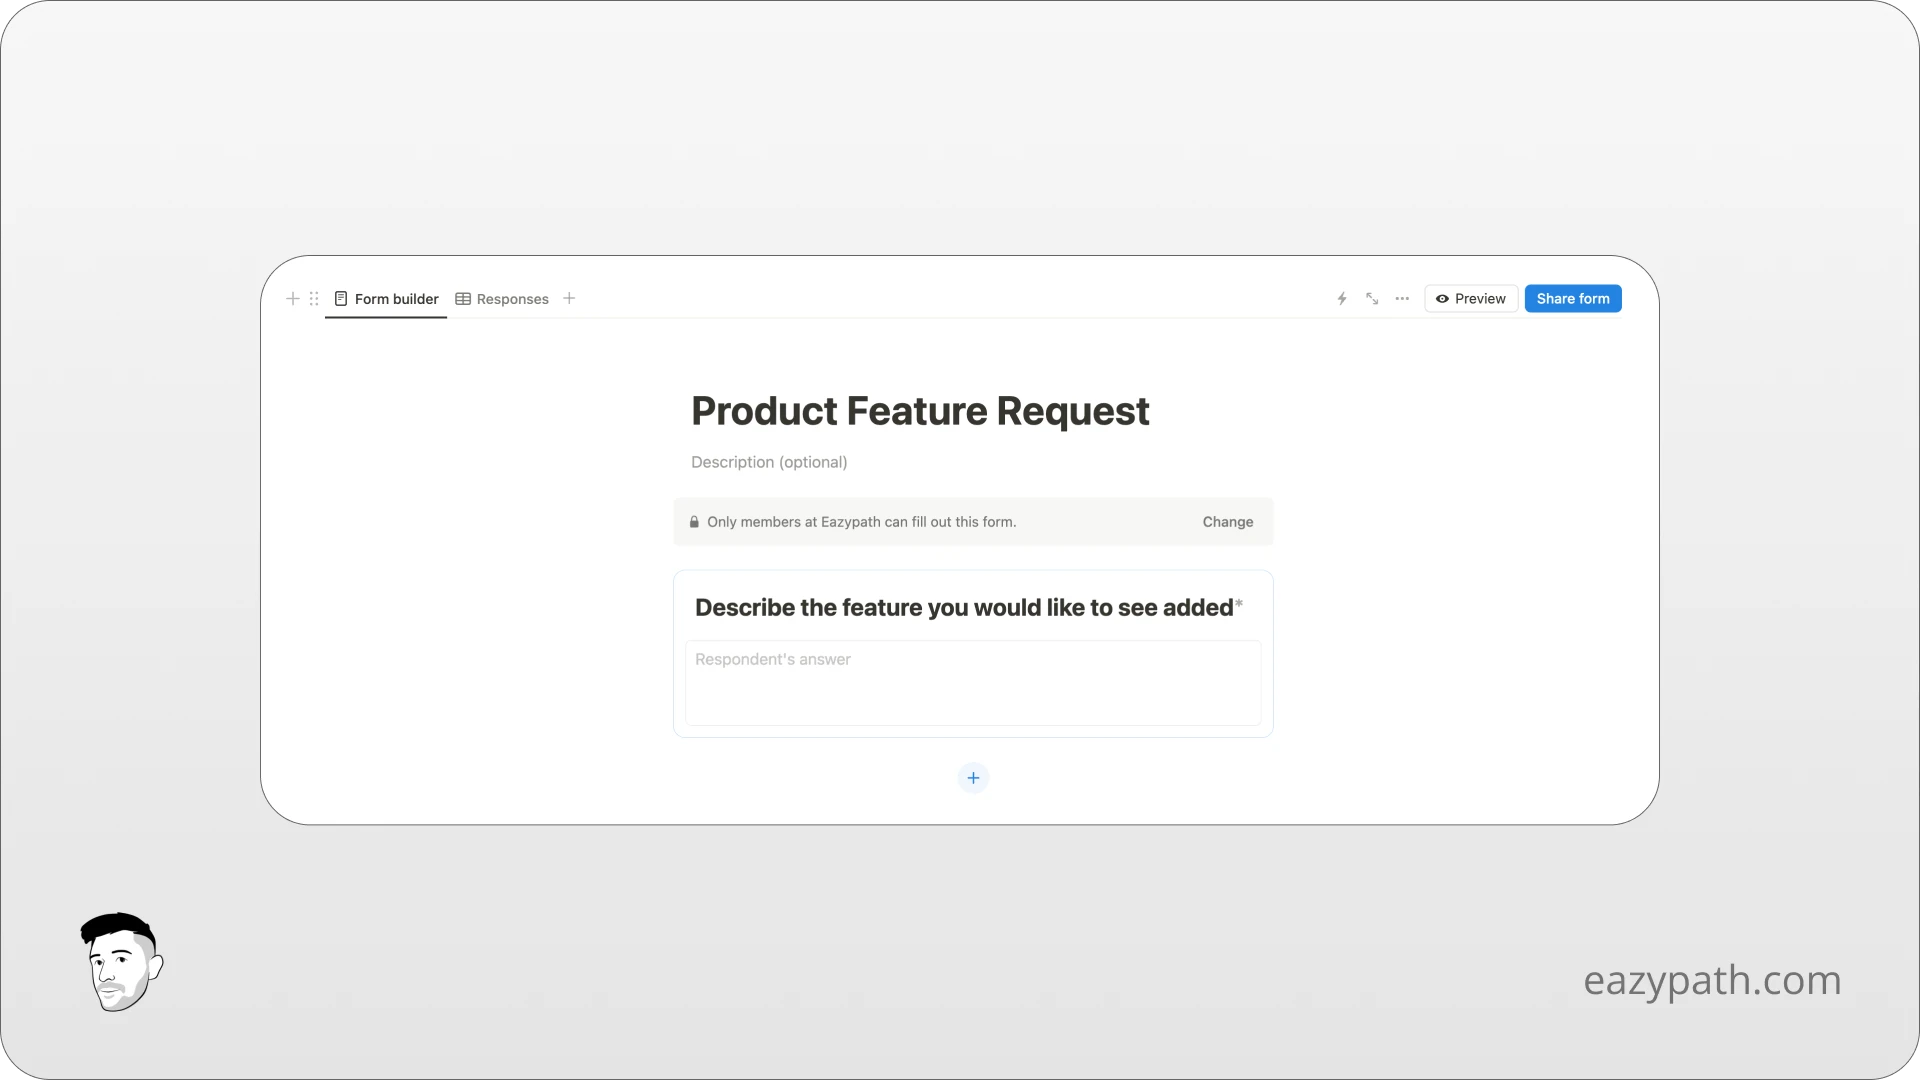
Product Feature
You can use Notion forms to let users request new features for your product. Gathering feedback and opinions from your customers is always beneficial.
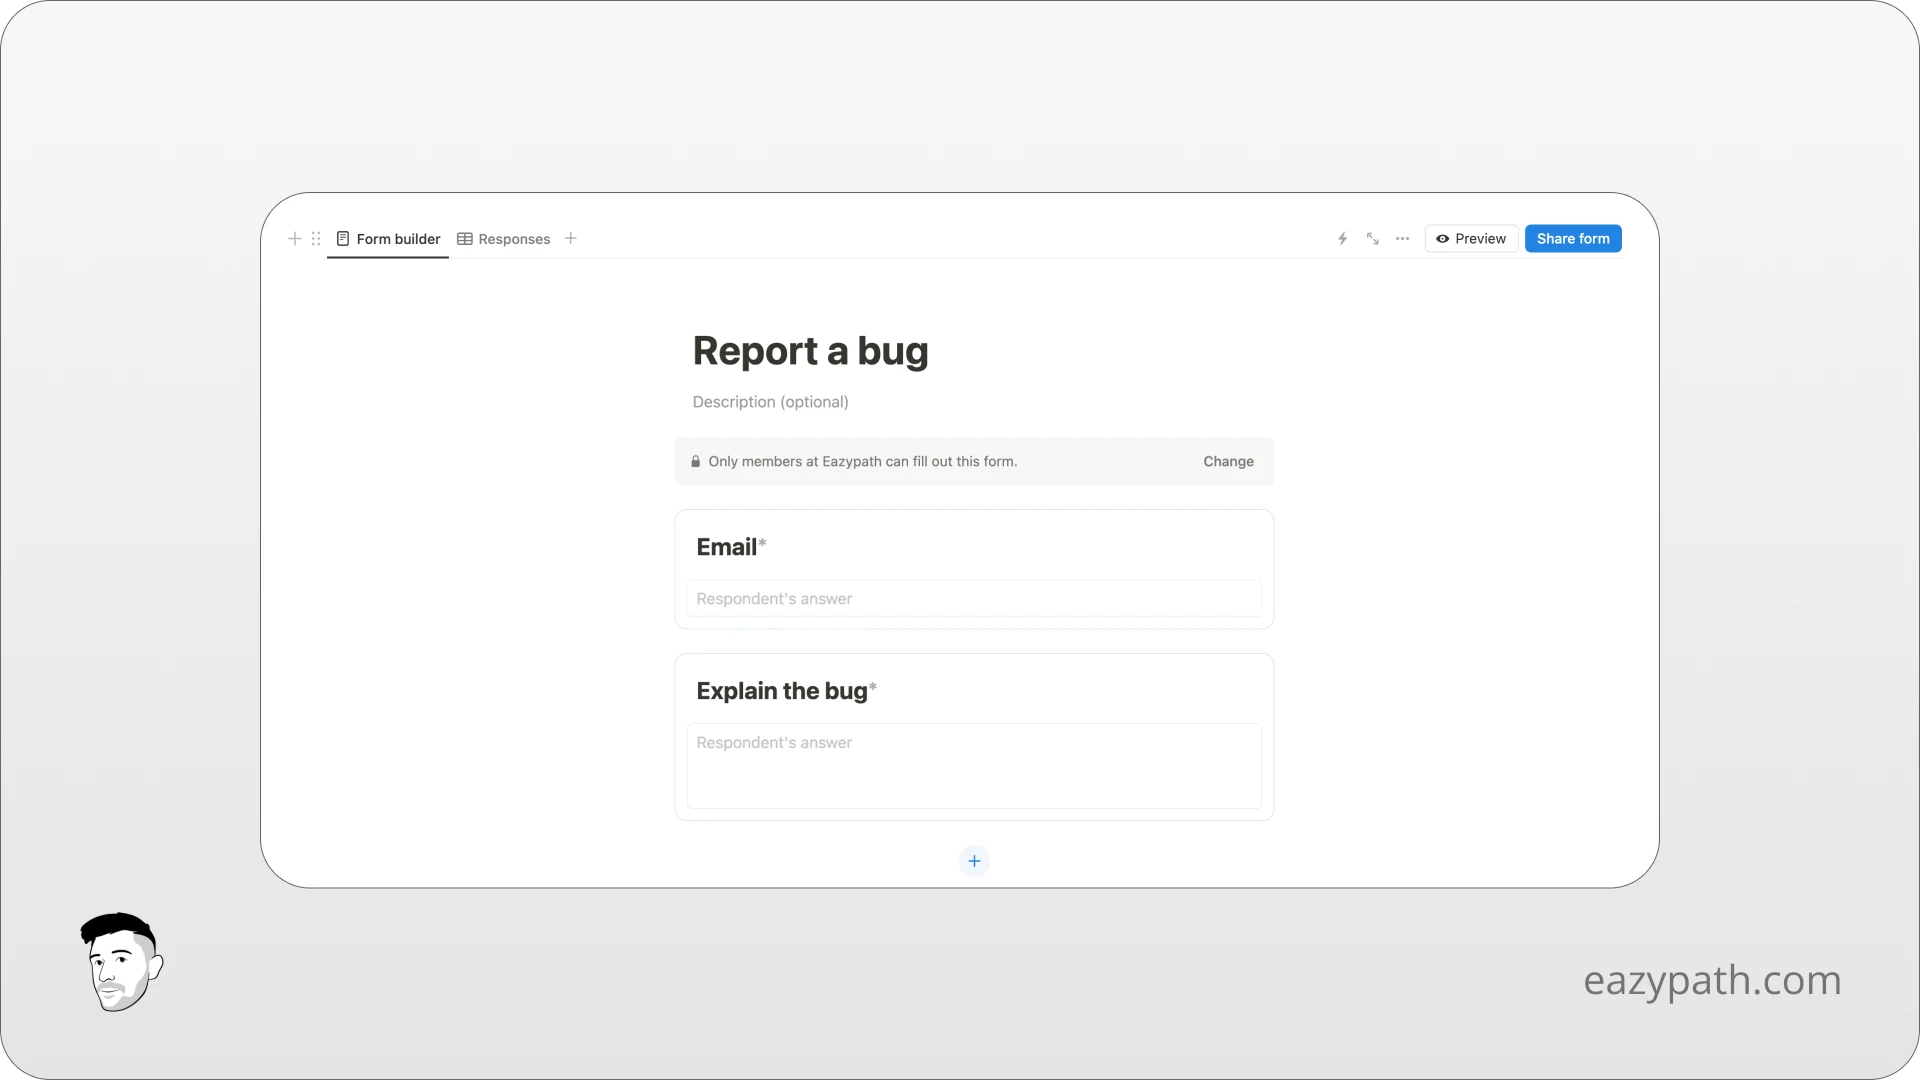
Report Bug
Notion forms can be useful for users to report bugs or anomalies. Often, there are bugs we cannot detect ourselves, and this is an effective way to track them.
Bonus: How to Send an Email After your Form is Submitted?
In the last example (Report a Bug), you may have noticed an email field on the form. Yes, you guessed it! You can send a confirmation email after your user submits the form. I will show you how.
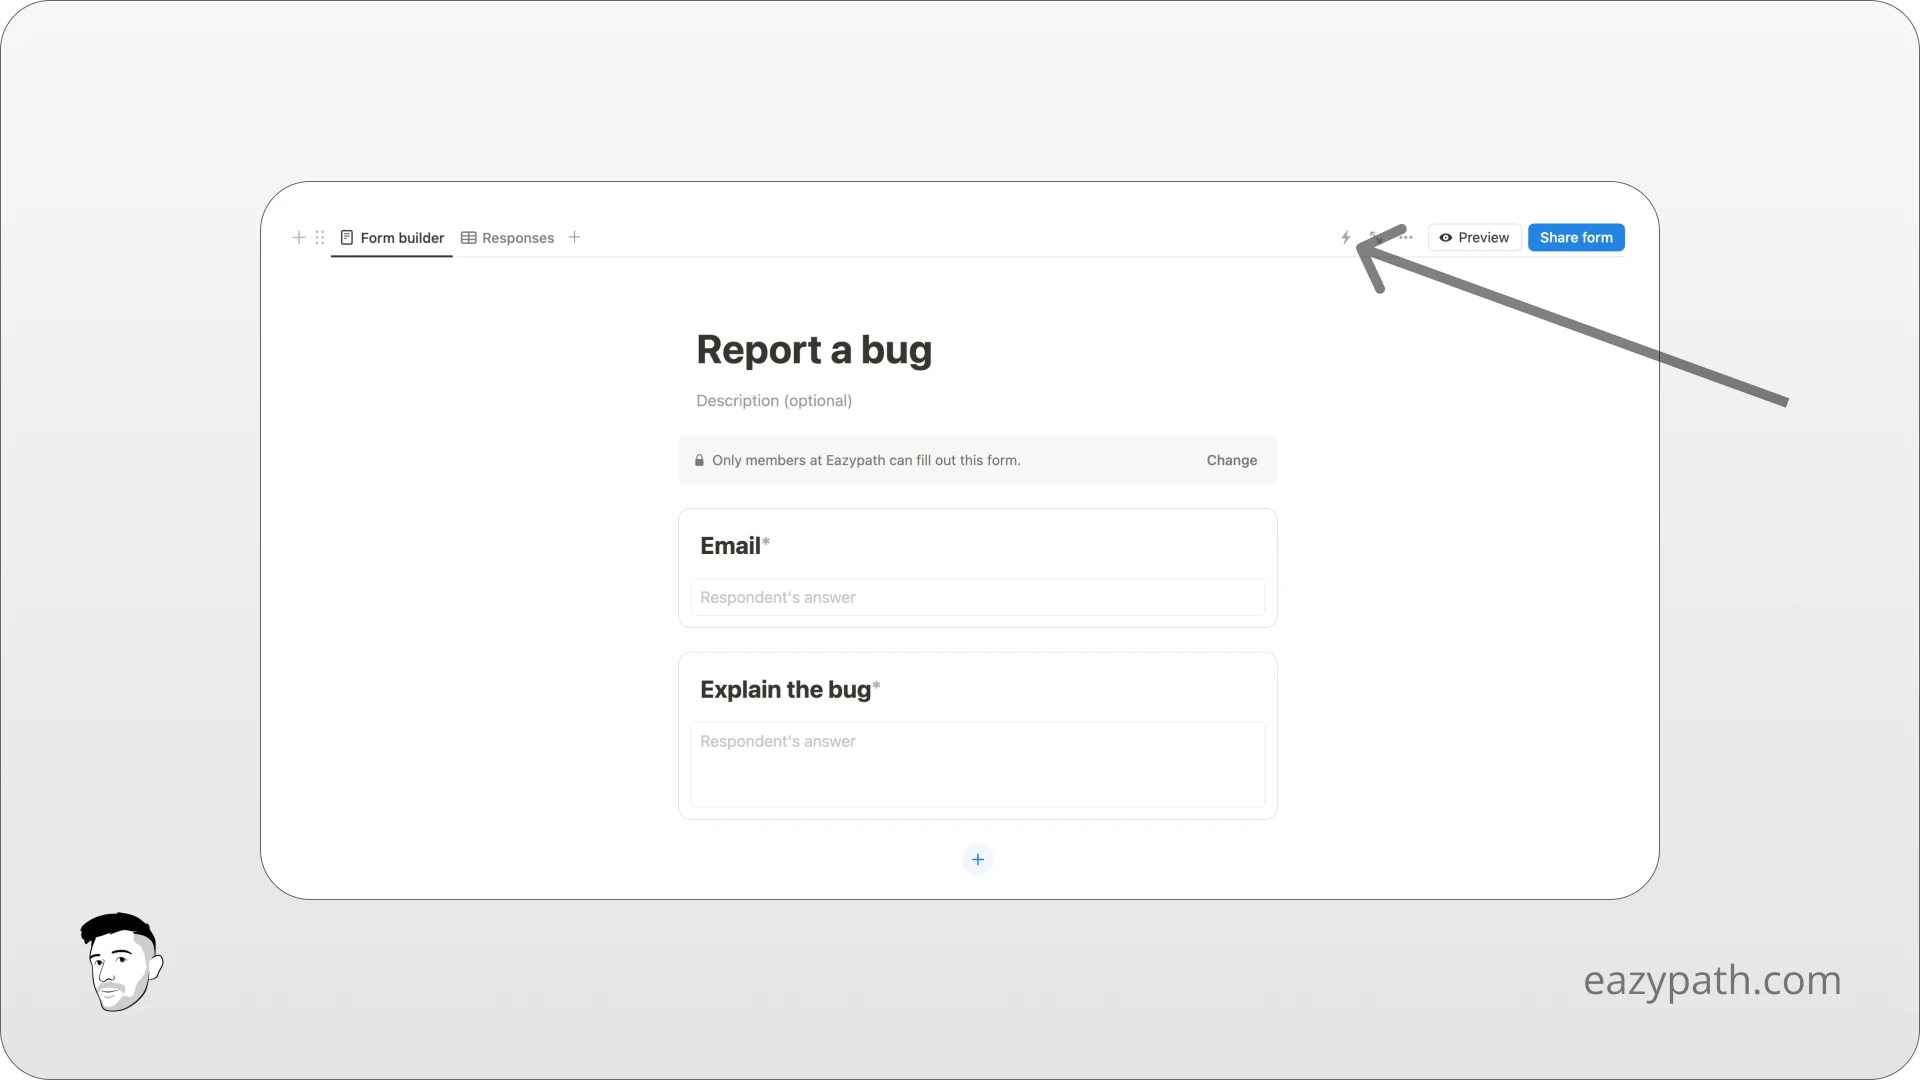
On your form, click on the lightning symbol on the top right of the form view to create a Notion automation.
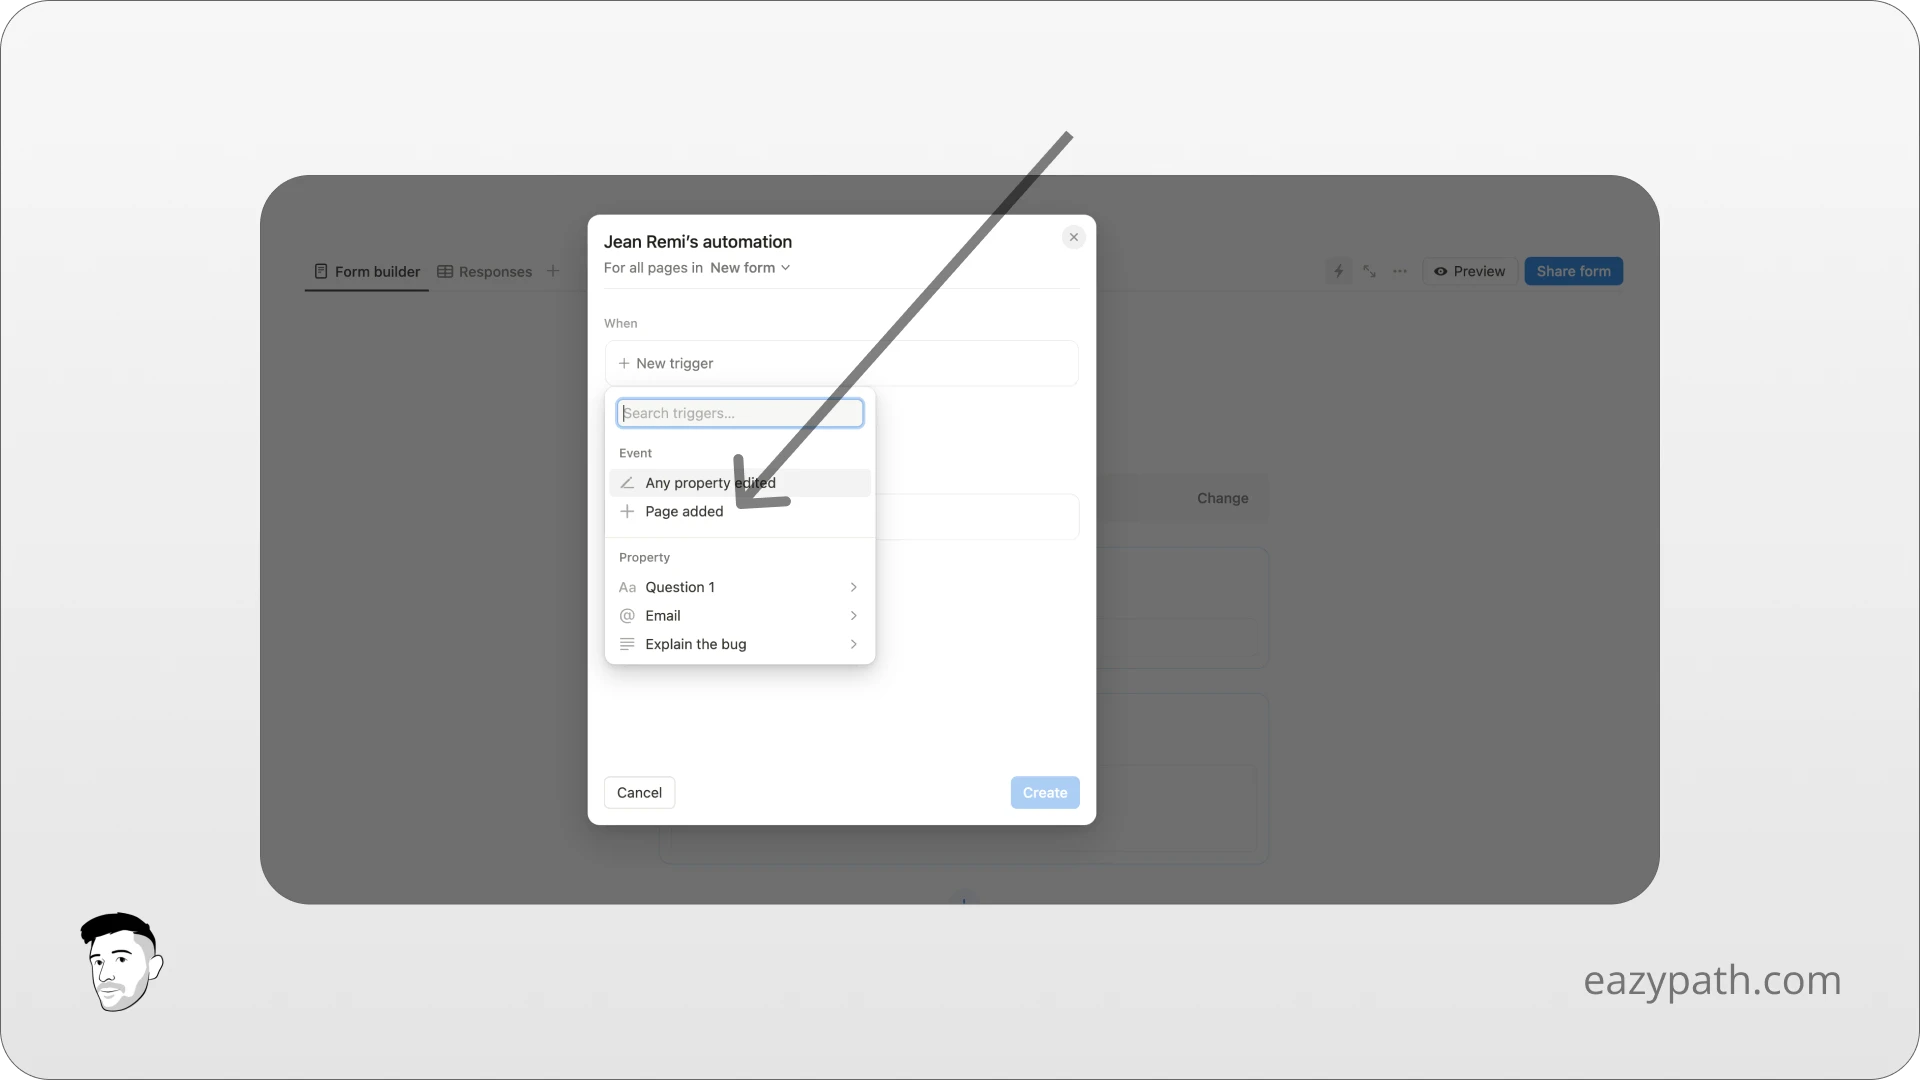
A popup will open to create your automation. For the "When" section, you will select "Page added" to trigger this automation when a new entry arrives in your form database.
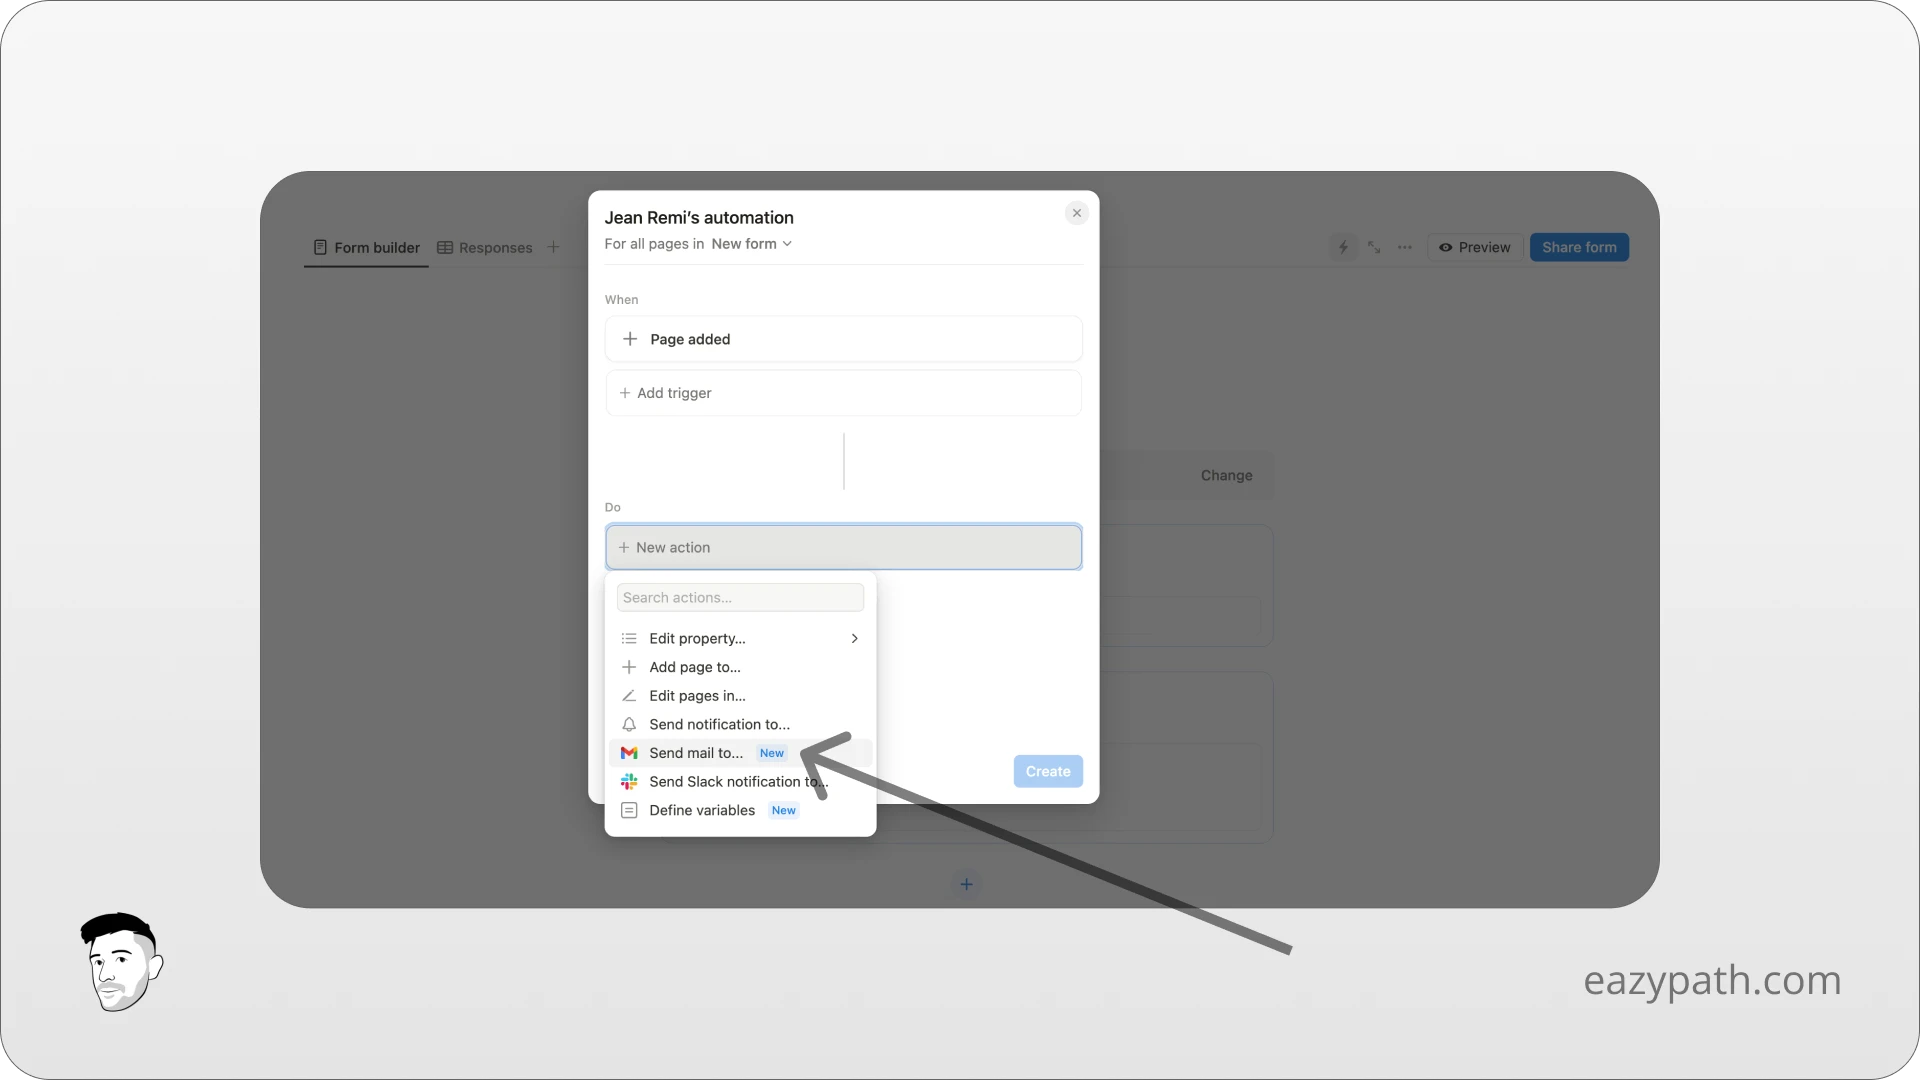
In the "Do" section, you will select "Send email to". From here, you will be asked to connect your Notion workspace to your Gmail account; just follow the steps.
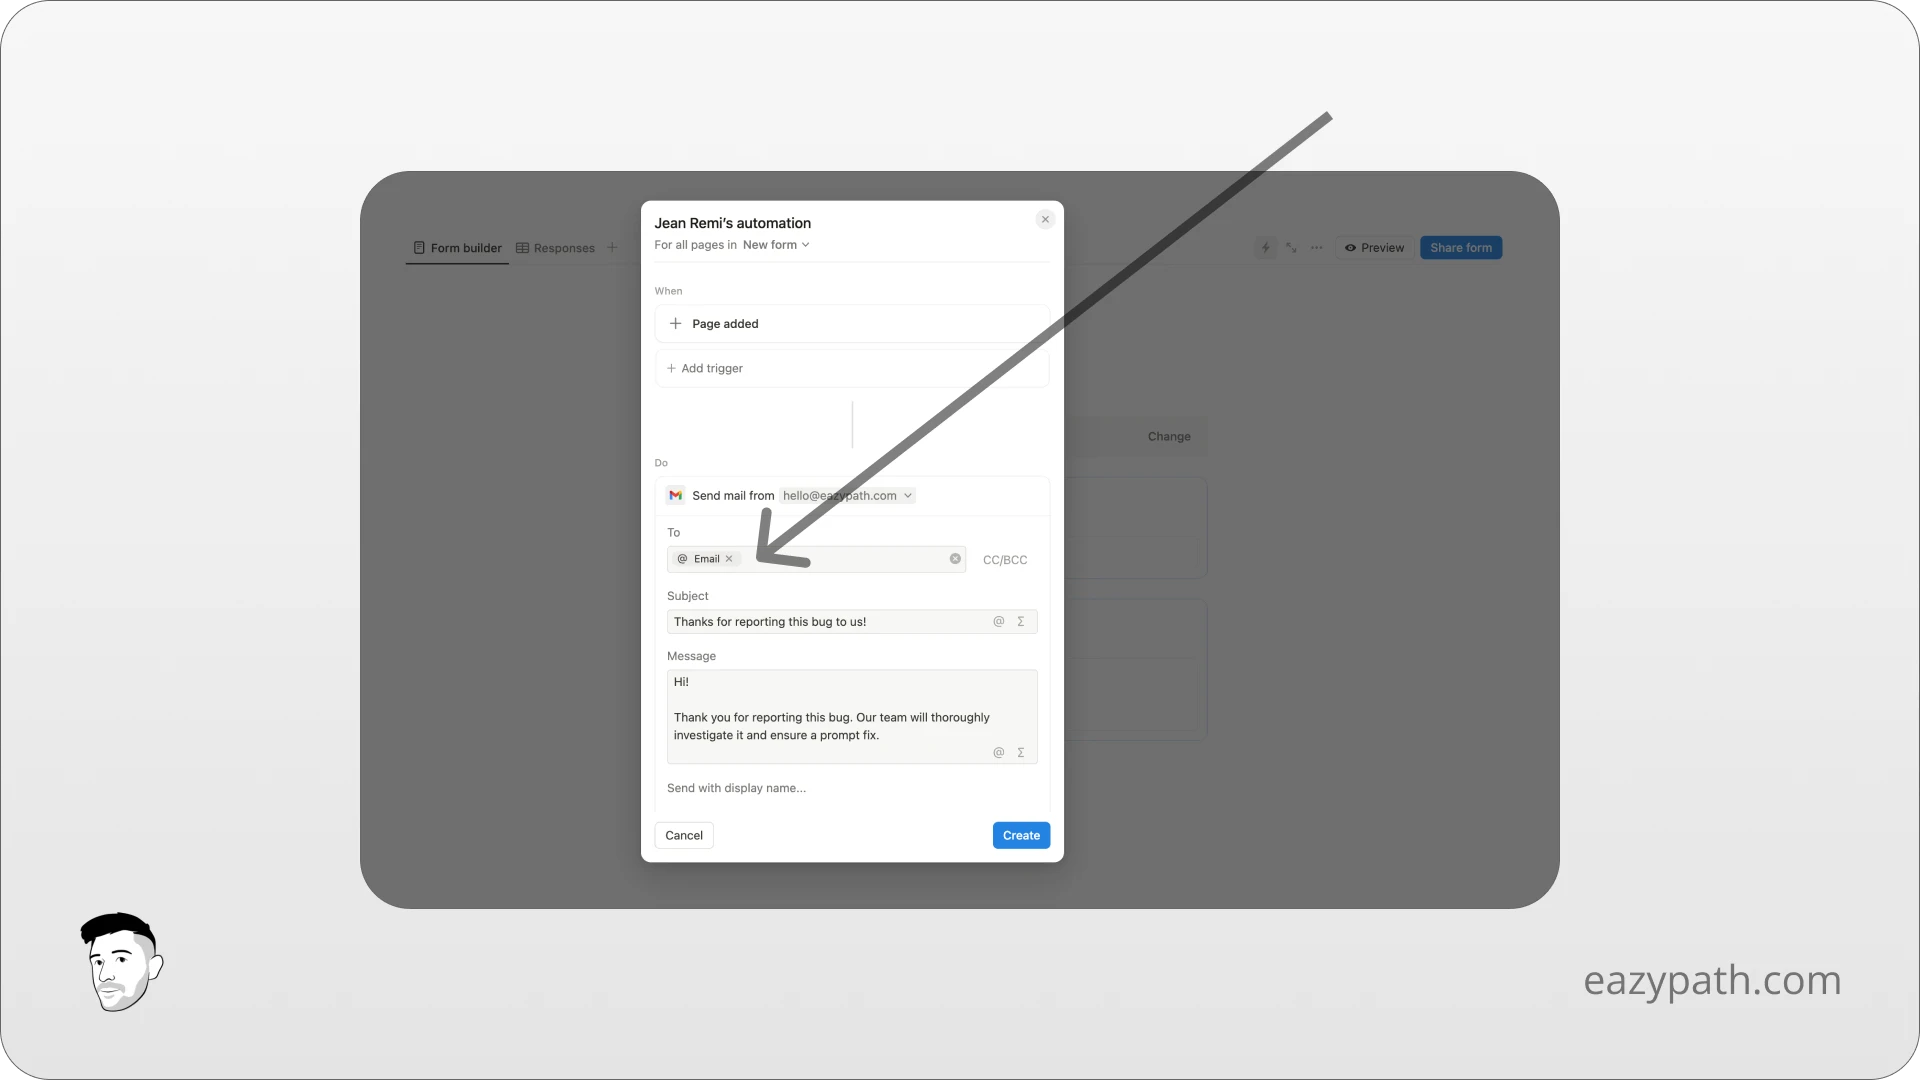
Finally, you will select the email property inside the "To" field to send the email to the person that filled the form. For the rest, simply enter a subject and a body customized as you wish.
Click on "Create" and your automation is ready to be used!
If you want to learn more about automations, check out this guide on Notion database automations to get all the details.
Conclusion
As you saw in this article, Notion forms have many features and allow you to collect user data directly inside your workspace. No need for other tools anymore; you can even trigger emails directly from your form.
Use the Notion forms as you wish to create the forms of your choice that will be fully integrated into your personal or company process.
I'm sure you already have amazing ideas flowing!

